Flying a plane in the pattern is a simple process, but it does require good concentration and practice. Repetition is what flying a plane becomes and makes it become automatic so new pilots spend hours doing touch and goes. I know I have been there doing bumps as we sometimes call them.
Its getting the procedures like magneto checks, checking the wind direction as well as when you do your checklists. It must be absolutely repeatable every time you fly. It just becomes automatic when your flying a plane .
One other factor to flying the pattern is to maintain a sterile cockpit in important parts of the flight. This is just not chatting about random stuff when your taking off or landing. Concentrate on the task at hand and its recommended to say the action as you do it so a co pilot can see and hear you have done something important from your check list.
Following Flying Procedures
The different aspects from the startup through to shut down all have important procedures. If your flying a plane in a flight simulator or for real you wait for the engine to get warm before going to full throttle? Do you do a run up once it is and check your engines performance?
When you are in a GA propeller aircraft the magnetos must be checked? If your treating your flight simulator as a game and not a simulator instead maybe your would appreciate the change your mindset in how your flying a plane. Maybe you may could bring these aspects into you daily flying and make it more realistic.
You may not be aware that even when taxiing there are items like where the ailerons and elevator controls should be if there is a moderate wind around. There is certainly a lot to learn fellow pilots when flying the circuit. You have to be on the job from walking out of the flight hut till you return for a relaxing drink. Below is a series of checklist you are likely to follow.
Take off – Circuit – Landing.
The whole process of flying a plane effectively is a series of checklists. Checklists ensure you don’t forget anything and are really important. People who use them when flying a plane are less likely to make a mistake and its simply much easy to forget things when your busy or distracted. Yes you can get distracted and say a step and not complete it.
It would be embarrassing to land and not have put the gear down and have a belly landing. It is pretty easy to obtain copies of real checklists for GA aircraft like the Cessna 172 for example then here is a copy of an old one from TAKEWINGAVIATION.com. Like many its a PDF file and is full of information about this particular model of 172.
The Checklists to Follow
The process of a flight remains the same. 1) Pre-flight the aircraft. This ensures the aircraft is ready to fly. Checking fuel, oils, tires and condition of the fuselage and wings etc.
2) Engine Start Checklist – Ensures you start the engine correctly and safely. Remember there is a big prop out front people can walk into. Yes its happened and will likely happen again with disastrous results.
3) Taxi Checklist – Ensures you have the radio frequencies as well as permission to move the aircraft. This also ensures your up to date with the latest weather and airport information.
4) Engine Run up – Pre-flight Procedures – Ensures the engine and systems are ready to perform at maximum power.
5) Climb Checklist – Ensures you follow the correct speeds and system requirements for your climb to altitude.
6) Cruise Checklist – Ensures again your setup correctly for your cruise phase of flight.
7) Decent Checklist – Ensures you are set up to descend and this is crucial to remind you about possible icing and preventing engine issues.
8) Landing Checklist – Ensures both yo and the aircraft are ready for the most dangerous phase of flight.
These checklists get you up and down safely but there are also checklists for all types of emergencies as well as for fun stuff like aerobatics. So you can see there is a checklist for every occasion. You can watch examples of flying the circuit at Lets Fly VFR as most flights include a full circuit. If your interested in flying then contact your local flight school or here in Australia you have a choice of Sport Flight flying if its just a recreational pastime.
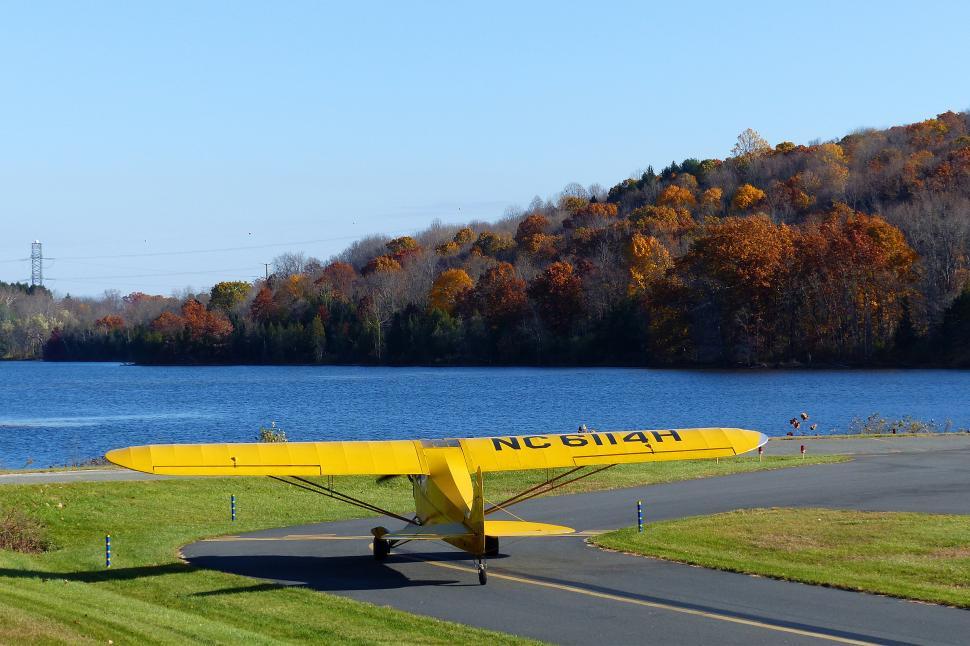
Taxi to Take Off
Ok we have successfully taxied from our parking point to the taxiway and proceeding happily down to the runway end. It may seem obvious but check your taxiing to the correct runway. Yes, many an airplane has been noted taxiing to the wrong end of the runway.
Check the wind and its direction. Will you be taking off into the wind if you go to the current posted runway? If its runway 360 which is north, and the wind is coming from 180 then you need to announce a runway change if you’re in a non-towered airport or request a change from the tower if you’re at a towered airport.
They may have a reason to keep it as it is so ask.
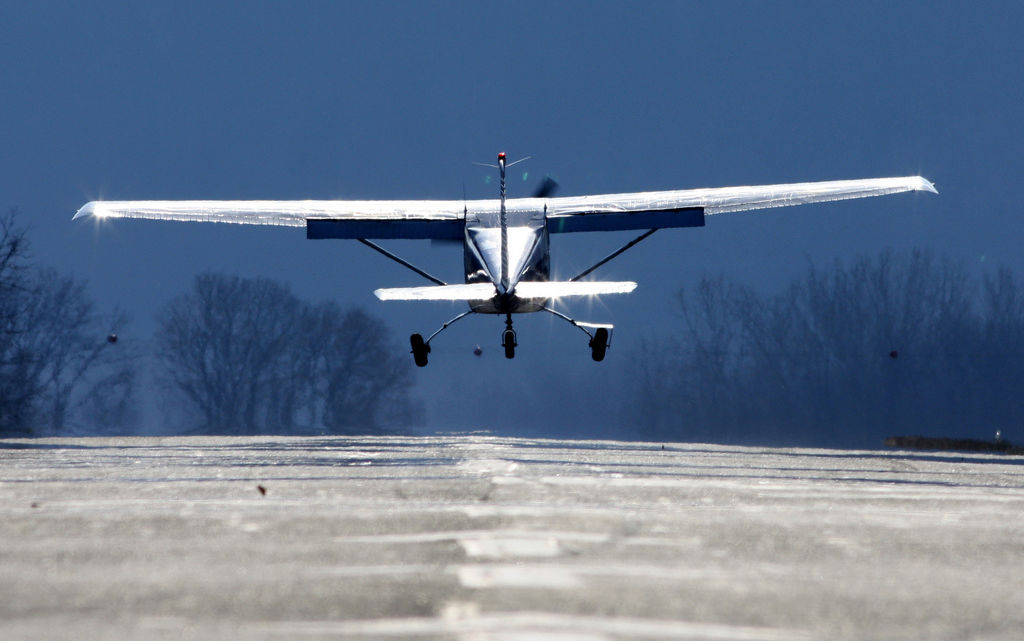
Take off
Approaching the entry to the runway check the circuit and the current locations of any aircraft and the runway is clear. Take note of the wind direction and how much it is gusting if at all. You should carry out your Engine Run Up at this point and check the full operation of your magnetos in a GA aircraft. Once done you can announce your intentions to enter runway 36 on the radio. Wait for a moment and see if anyone replies to you. If all is clear taxi onto the runway and if needed back track to the very beginning of the runway even if the runway is very long. You always want to have enough room to take off but more importantly room to stop should the engine have issues early prior to take off. I have seen it several times when pilots taxi out and just take off at 3/4 distance on the runway. This is very poor airman ship in my opinion. Yes you can take off but if you have an engine failure on take-off then you want as much runway as possible so you may be able to safely stop if needed.
Let’s Fly!
Add Power
Check everything in the cockpit once again and ensure all your controls are functioning correctly. Add power smoothly ensuring your heels are on the floor so you cannot operate the toe brakes in the rudders while steering. Control the direction with the rudders keeping the aircraft on the centerline being aware of the wind as you accelerate. On reaching your rotate speed ensuring everything else is normal allow the nose to rise and the nose wheel just lift off the runway a little. Let the main wheels remain on the runway and as you get enough speed for the wings to lift the aircraft it will wise into the air by itself.
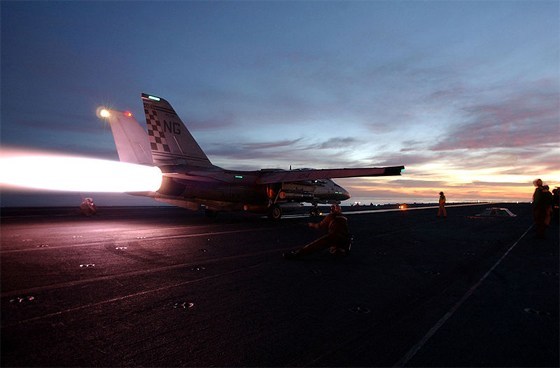
F-14 Tomcat Launch
You Made it to 500 Ft
Don’t try and pull the aircraft into the air to quickly or you could stall. Allow the aircraft to accelerate and when you are at your best climb speed also known as Vy you can raise the nose so the angle of the aircraft now maintains the speed of the aircraft. Climb rate will vary depending on the weigh of the aircraft. Single pilot and low fuel quantity you may see 1000 foot per minute but full fuel and a heavy friend on a long cross country you may see substantially less. Its not about the climb rate as the correct speed. Adjust the angle and use the trim control to maintain the angle and help you not have to keep pulling or pushing to maintain the angle as well as speed you desire.
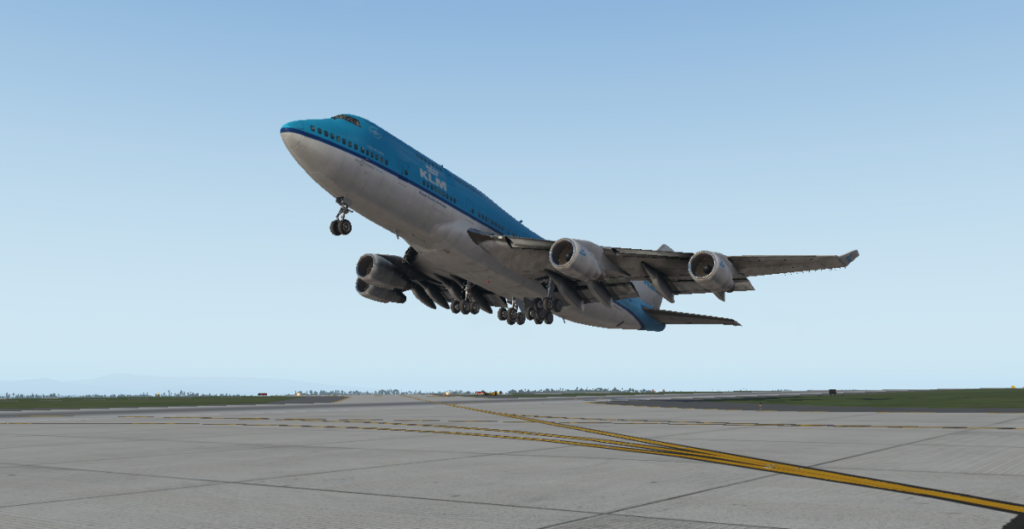
Boeing 747 Take Off
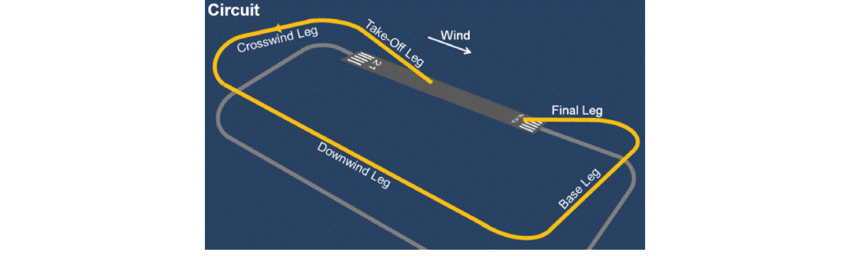
Crosswind Leg
Well done! You have finished your first take off so new we need to turn left 90 Degrees and continue flying on UP WIND or CROSSWIND LEG of the circuit. Now you can bank the aircraft gently. Allow it to turn the required 90 degrees to maintain the upwind or Crosswind leg. Continue at full power and as you approach the circuit height of 1000 Ft AGL (above Ground Level). Check the incoming direction for aircraft then down the circuit and double check if you can see anything on the runway or taxiing towards the takeoff end of the runway.
Ensure you are clear of any other traffic. You should now commence a gentle coordinated turn and its likely you can now reduce power as you level the aircraft as you finalize your 90 degree turn to put you on the DOWNWIND LEG.
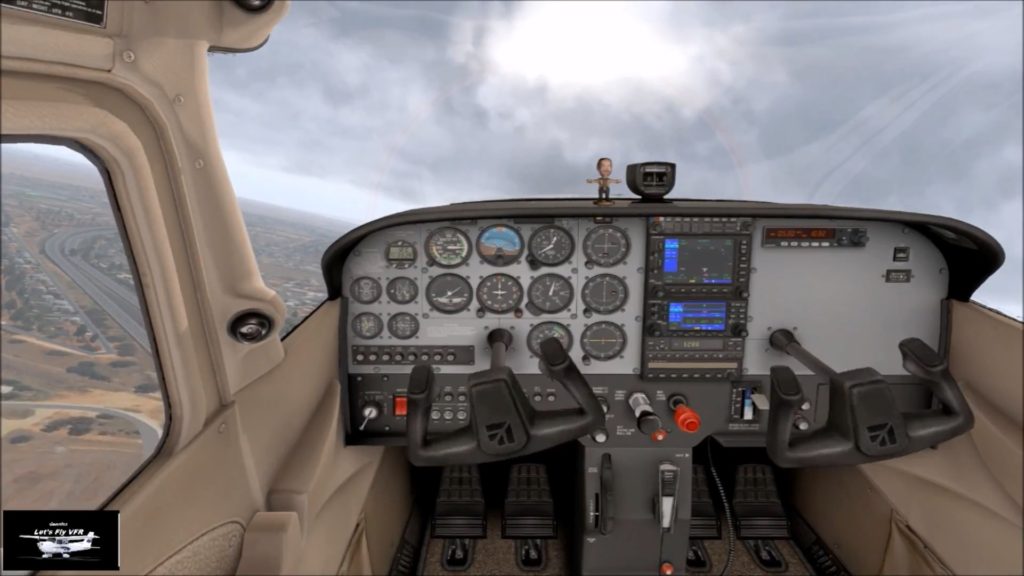
Cessna 172
The Downwind Leg
Now set your power for a moderate speed and allow your aircraft to slow till the speed indicator enters the white zone while maintaining 1000 Ft AGL. Generally you can now extend the flaps to their first setting. Re-trim to level flight and don’t let the aircraft balloon up with the additional lift the flaps produce.
The Traffic Pattern
Now is a great time to check the pattern for aircraft entering as they may enter at the downwind start point, midfield just to name a few.
Check your instruments, check the aircraft and make sure all is as it should be.
Your distance from the runway you should be flying parallel to should be about half way down the wing strut in a Cessna or a Jabiru which are obviously high wing. If your flying a low wing then you will need a reference point along the wing to ensure your correct spacing.
Its time to do your downwind checks:
Carbie Heat on/As Required
Check Gear Down
Check Doors and windows closed and locked
Check Seatbelts on and locked
Check Fuel Quantity sufficient
Check Brakes for Pressure – Pressure indicated they haven’t leaked, or the cable hasn’t broken.
OK – Should be fine!
When you lined up with your planned touchdown point get ready:
To reduce power – Turn onto Base Leg – Begin a Decent of generally about 500 Ft Per minute.
When the end of the runway is 45 degrees behind you reduce the power, start a gentle turn onto the base leg plus start to descend at 500 Foot per minute. Maintain your speed as always:
ATTITUDE CONTROLS SPEED – POWER CONTROLS DECENT RATE
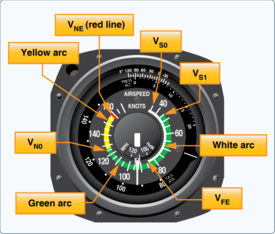
Know Your Speeds
THE BASE LEG
In your decent and turn it is important especially as you get slower to keep the aircraft coordinated with your controls You should make sure you don’t make and tight turns or use a lot of rudder to help you turn. Using a lot of rudder makes the aircraft slip and yaw excessively. It can make the opposite wing STALL and then you spin and crash. Steep turns at low speed often turn into a stall and spin into the ground. Don’t do it!
At this point you can decide to add more flap and again ensure to counter the tendency to balloon with some forward pressure and then trim. Maintain your Attitude, speed and decent rate. Keep it smooth. As the aircraft approaches the 500 ft mark you should be nearing aligning with the runway. You have to judge when to make the turn.
This will come with experience. If you turn early or to late then consider just going around. (General procedure below). As you line up look at the sight picture. Check your speed and decent rate to make sure your continuing at about 500 ft/min and approach speed is adequate.
Know The Correct Visual Picture 3 Degrees.
FINAL to TOUCHDOWN
It is important to be smooth with the controls now. We are in the most dangerous phase of flight now.
Check your SPEED – DECENT RATE and make small adjustments to line up with the centreline of the runway.
Concentrate outside the window and watch the runway angle and VASI lights should they be available.
When your sure you can make the runway if you wish you can add any remaining Flap you think necessary. Be ready for the float, the extra drag that is generated.
It should be comfortable as you approach and gently approaching the runway. As you reach the threshold reduce the power smoothly to idle is normal in GA aircraft and allow the aircraft to continue to fly just off the surface of the runway.
THE VIEW
Your view should transition from your landing point to the far end of the runway. This is super important for gentle landings. If you concentrate on the touch down point you will likely hit harder than you want and bounce.
Look down to the end of the runway and gently pull back on the yoke or joystick as the aircraft slows down. The cowling will start to come a little higher as the speed reduces and then the aircraft will stop flying and you should settle onto the runway most likely with the stall warning chirping in your ears.
The stall warning lets you know you are at the slowest speed the aircraft will fly and the landing should be gentle.
All going well you use the rudders to keep you straight on the runway and apply the brakes to get the aircraft stopped safely.
Well DONE!
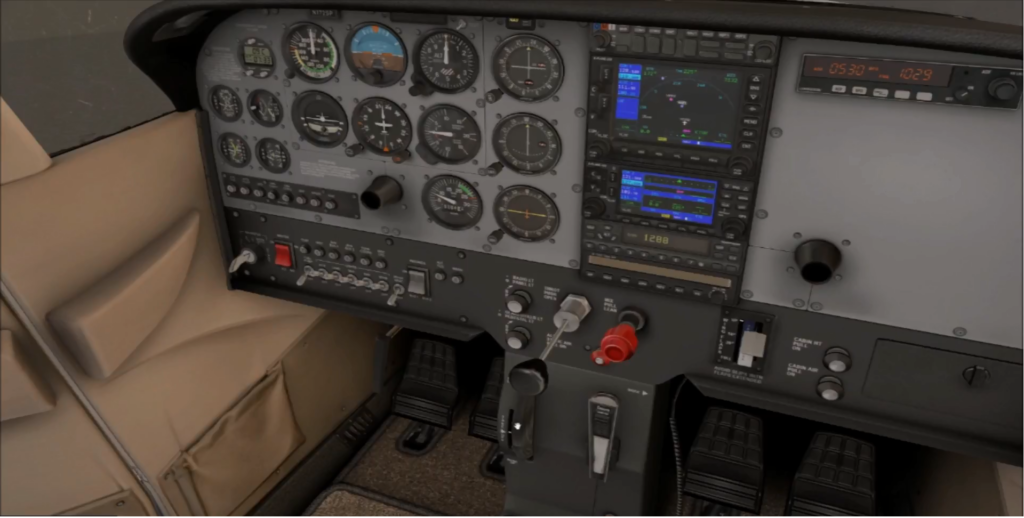
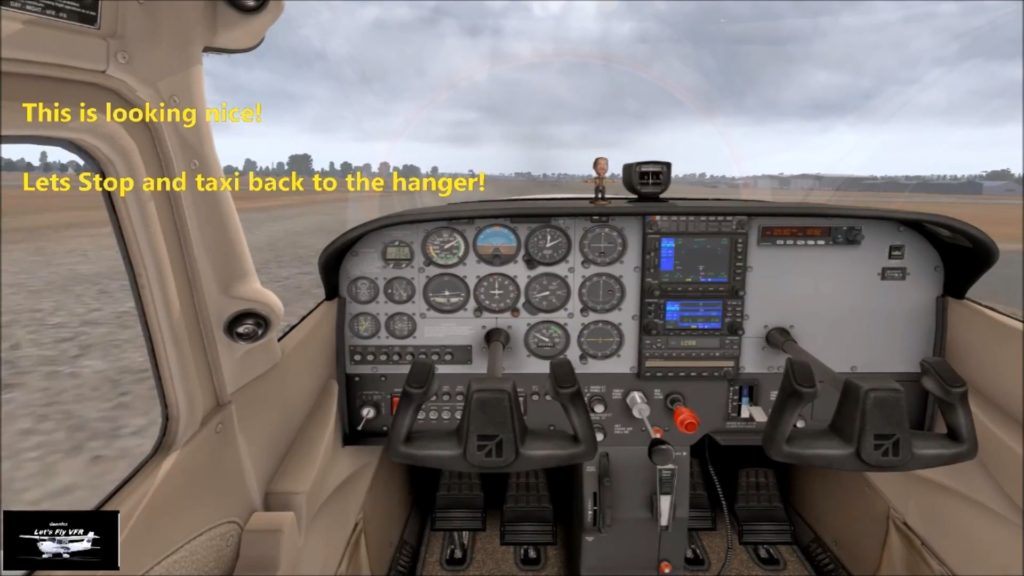
Flight Simulator Control Panels
Now you have the basics with yokes and and joysticks you need some flight simulator instruments to get it looking real. The realism comes from the environment and having a great cockpit with its own flight simulator instruments is a great start. The flight simulator of your dreams is a lot of work so getting the right gear which works and will last is very important.
It doesn’t matter if your an airliner pilot, general aviation, helicopter, glider or fighter pilot there are extra panels here to make your sim one to be envied by your wing man or co pilots. Lets have a look at the wide variety of panels you can add to get the feel your looking for in your home flight simulator.
Q & A Flying the Pattern
Airport Traffic Pattern Altitude
The airport traffic pattern altitude for GA or general aviation aircraft is 1000 ft AGL or ground level.
This is set by getting the current air pressure setting from the tower should you be arriving from another airport.
If your flying a jet then your traffic pattern is 1000 Ft AGL and for Helicopters it is 500 Ft normally but can be set at 800 Ft so check your airport charts.
Traffic Pattern Communications
Traffic pattern communications are pretty standard across most airports. Generally if your entering a non towered aerodrome you would tune to the airport frequency and see what other runways pilots are using currently then make a call at 10 NM away giving your position, altitude and intentions.
This might be something like: Gawler Traffic Jabiru 7923 10 miles north at 4500 ft inbound. This tells everyone where you are and that you intend to join the pattern and land.
Joining the Pattern:
Joining the traffic pattern can be done a number of different ways from simply a straight in approach without flying a full circuit is permitted but often avoided.
The most common but not the only version is to join at the beginning of the downwind leg which is normally a left pattern keeping the runway on the pilots side of the cockpit.
You can join at the beginning of the downwind leg by announcing this before you actually arrive: Gawler traffic Jabiru 7923 joining left downwind for runway 05 Gawler Traffic.
In the Traffic Pattern
Now your in the downwind leg you slow down to your required speed and ensure you are at traffic altitude.
Checking all the time both other airborne traffic and any ground traffic movements as you fly downwind.
Next you will turn on the base leg. Radio call would be: Gawler traffic Jabiru 7923 turning left base for 05 Gawler traffic. This will put the runway on your left still as you descend to about 500ft agl before turning to final and landing.
Landing Safely
Descending on your Base leg you now require to turn, lineup with the runway and land. Radio call:
Gawler Traffic Jabiru 7923 turning final FULL STOP Gawler Traffic.
It depends on what you plan it can change to Touch and Go depending on your intentions.
Once safely on the ground and taxied off the runway you make a final call,
Gawler traffic Jabiru 7923 clear of all runways Galwer Traffic. Your home so taxi in, shut down and relive the flight.
Gawler Airport – My Local Non Towered Airport
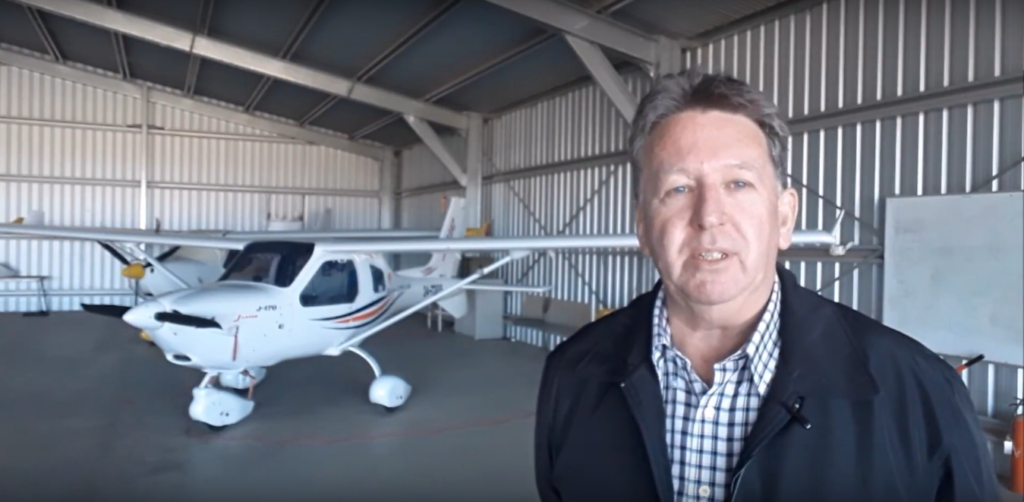
Author:
Brendon McAliece – LetsFlyVFR creator, Airforce veteran with 20 years military aircraft weapons experience and 35 years of flight simulator experience.
Brendon McAliece, (Aka Gunnie) is a military veteran with 23 years working on Jet Fighters, their weapons systems and ejection seat/module systems as well as munitions and R&D. Involved with flight simulation since the 1980s he has flown all the major flight simulators over the years.
He is an Australian expat who has lived in Malaysia, UK, Saudi Arabia and more recently Thailand. He is a multi lingual blogger who loves to share his life experiences here on www.LetsFlyVFR.com and www.DreamingGuitar.com, his lifestyle and Travel experiences Blog.