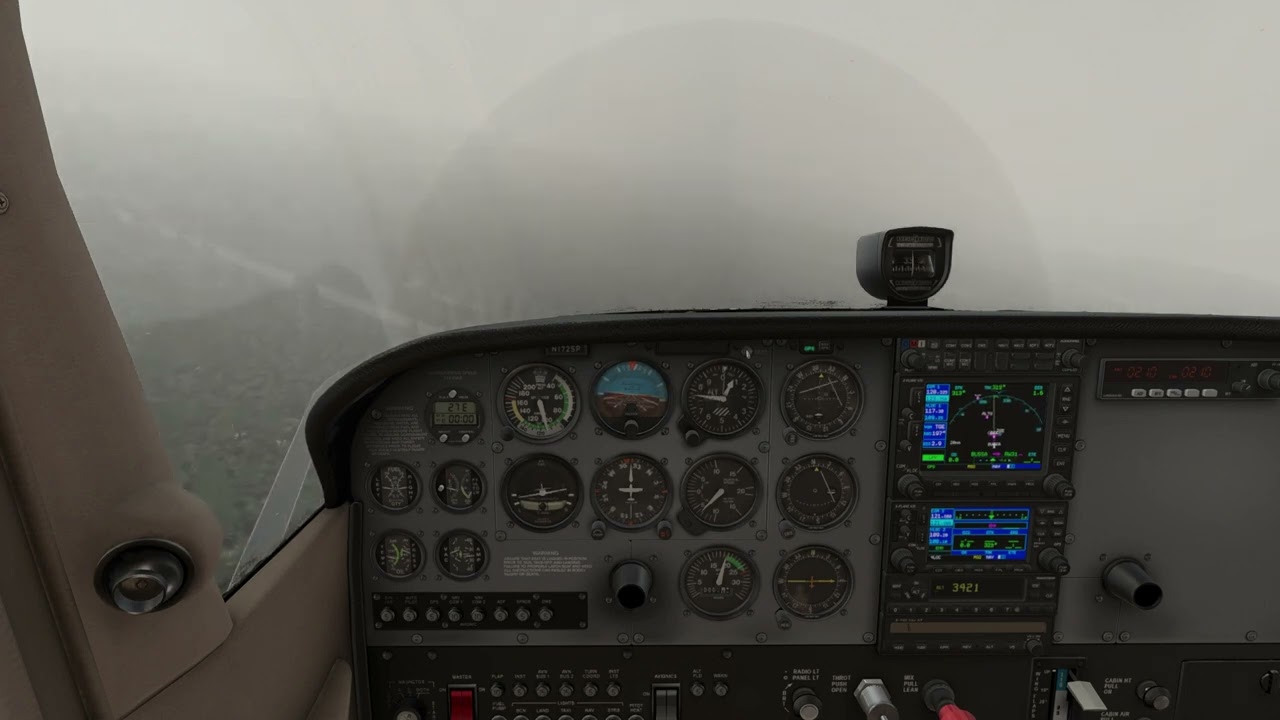
Mastering IFR Flight in X-Plane 12: The Ultimate Beginner’s Guide to Instrument Flying.
Introduction: Why Learn IFR in X-Plane 12?
IFR Flying in X-Plane 12 will help you with Instrument Flight Rules (IFR) are the backbone of professional aviation, allowing pilots to fly safely in poor weather, low visibility, and congested airspace. While many sim pilots start with clear skies and Visual Flight Rules (VFR), stepping into the world of IFR opens up a whole new level of realism and skill-building.
In X-Plane 12, IFR simulation is not just possible it’s impressively accurate. With real-world procedures, full autopilot systems, and customizable weather, you can train in complex conditions that challenge even seasoned simmers.
If you’ve already explored VFR flying and want to level up, this IFR Flying in X-Plane 12 guide is your first flight plan into the clouds. We’ll walk you through:
- Essential IFR acronyms and what they mean
- Planning your IFR flight in the sim
- Talking to ATC and navigating airspace
- Staying legal and safe with NOTAMs and TFRs
- A complete sample IFR flight from start to finish
New to VFR flying? Be sure to check out our X-Plane 12 VFR Flight Guide for Beginners first, then return here to continue your journey.
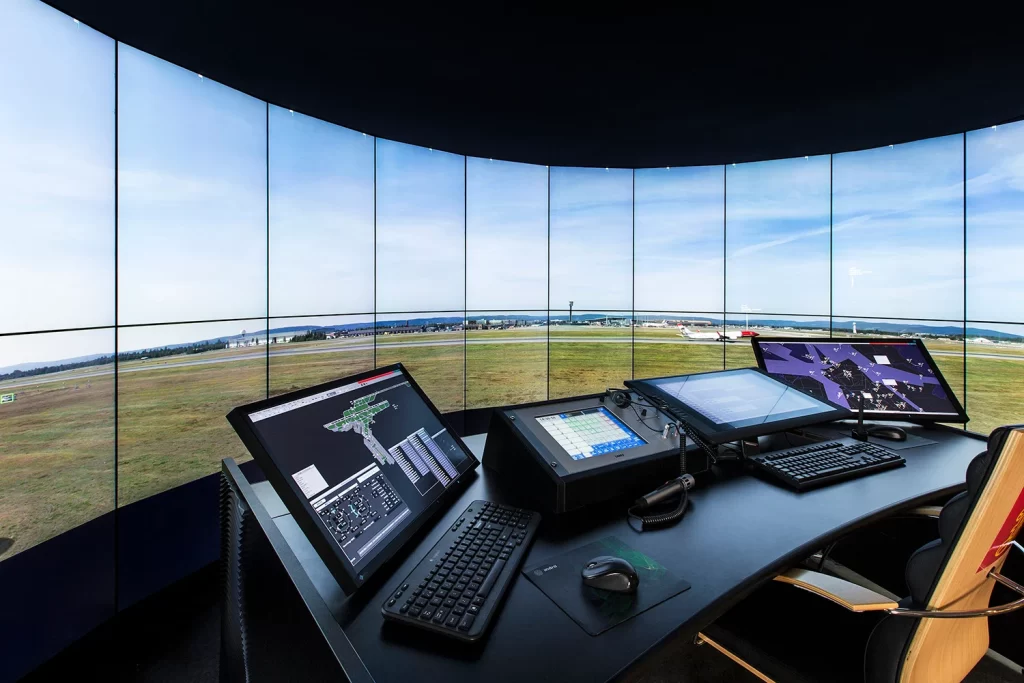
IFR Acronyms Every Sim Pilot Should Know.
Understanding IFR starts with the language of instrument flying. These acronyms pop up in every chart, clearance, and approach. Here’s your quick-reference table to demystify them:
| Acronym | Meaning | In Sim Use |
|---|---|---|
| IFR | Instrument Flight Rules | Flying by instruments, not visual cues |
| VOR | VHF Omnidirectional Range | Radio-based navigation waypoint |
| ILS | Instrument Landing System | Precision guidance for landing in low visibility |
| ATIS | Automatic Terminal Information Service | Weather and airport info broadcast |
| SID | Standard Instrument Departure | Predefined routing after takeoff |
| STAR | Standard Terminal Arrival Route | Predefined routing before approach |
| FMC/FMS | Flight Management Computer/System | Used to enter flight plans and manage routing |
| METAR | Meteorological Aerodrome Report | Current weather report |
| TAF | Terminal Aerodrome Forecast | Weather forecast for planning |
| TFR | Temporary Flight Restriction | Restricted areas (VIP, military, disaster zones) |
| NOTAM | Notice to Airmen | Time-sensitive advisories for flights |
🖨️ Download the IFR Acronym Cheat Sheet (PDF) – ideal for printing or pinning to your sim setup.

Part 2: Planning Your First IFR Flight in X-Plane 12
You wouldn’t jump in the car for a long road trip without checking the route, fuel, and weather, right? The same logic applies to IFR flying. Proper planning is not just important it’s mandatory under Instrument Flight Rules. Fortunately, IFR Flying in X-Plane 12 can help you simulate this process in a realistic and educational way.
Here’s what a beginner needs to know to get started:

Step 1: Choose Your Departure and Destination Airports
Pick two airports with towered control, available ILS approaches, and a reasonable flight distance (100–300 NM is perfect for practice).
Example route for training:
KSEA (Seattle–Tacoma) → KSFO (San Francisco Intl)
Why this route? It includes a STAR and ILS, active ATC zones, and varied weather.
Make sure you check:
- Weather: Is it IMC (Instrument Meteorological Conditions)? Use X-Plane’s built-in real-world weather or custom IMC settings.
- Runways: Are they long enough and ILS-equipped?
Step 2: Build Your IFR Route
You can use real-world flight planning tools or simplified X-Plane options:
Real-World Tools (Highly Recommended):
- SkyVector.com (great for VOR routing & weather overlays)
- SimBrief.com (auto-generates a realistic flight plan)
- Little Navmap (flight planning + moving map support)
Example Route (from SimBrief for KSEA → KSFO):
KSEA HAROB7 HAROB J501 OLM J70 RBL BRIXX4 KSFO
- SID: HAROB7 (Seattle departure)
- Enroute airways: J501, J70
- STAR: BRIXX4 (SFO arrival)
- Approach: ILS 28L or 28R
In X-Plane, enter this route manually into your FMS/G1000, or use the built-in flight planner for simpler routing.
Step 3: Pick a Realistic Altitude
IFR flight levels follow a simple directional rule:
- Eastbound (0°–179°): Odd altitudes (FL190, FL210, etc.)
- Westbound (180°–359°): Even altitudes (FL200, FL220, etc.)
Also check:
- MEA: Minimum Enroute Altitude for airway safety
- Weather layer: Avoid turbulence, icing, or storm levels
- Sim realism: If you’re on PilotEdge/VATSIM, you’ll be assigned a valid altitude
✅ Pro Tip: Use FL200+ for smoother ride and faster climbs, but watch cabin pressurization!
Step 4: Weather Planning – METARs and TAFs
Use these to check for:
- Wind direction & speed
- Visibility
- Cloud ceilings (important for ILS)
- Forecast trends during your estimated time enroute

You can simulate this in X-Plane 12 by:
- Enabling real weather
- Manually setting IMC (e.g., 2 NM visibility, 900 ft ceiling) to practice flying “in the soup”
✍️ Want a printable weather decoder? Download our METAR/TAF Cheat Sheet (PDF)
⚠️ Step 5: Check for NOTAMs and TFRs
Even in simulation, checking NOTAMs teaches great habits.
- NOTAM: Temporary closures, lighting outages, runway issues
- TFR: Restricted areas — think military ops, presidential movement, or space launches
Use tools like SkyVector or [ForeFlight (real world)] to check NOTAMs before every flight.
In sim: Avoid flying through military zones or TFRs, especially when flying online (VATSIM/PilotEdge) — or risk being “virtually intercepted!”
Step 6: File Your Flight Plan
In X-Plane 12, you can:
- Use the Flight Configuration screen to load an IFR route
- File in Plugins like PilotEdge or X-ATC-Chatter for realistic workflow
- Or simply enter it into your GPS/FMS system before departure
If you’re flying online with real ATC:
- File the plan via their website or tools like SimBrief
- Listen carefully for your IFR clearance before taxi
🖨️ IFR Flight Planning Checklist [Downloadable PDF]
We’ve created a printable checklist to help you prep for every IFR flight in X-Plane 12.
📎 Download the IFR Flight Planning Checklist (PDF)
(LETSFLYVFR.com branded and “For Simulation Use Only” noted)
Part 3: Talking to ATC and Understanding IFR Clearances
Communicating with ATC under IFR is all about structure, clarity, and flow. X-Plane 12’s built-in ATC or online networks like PilotEdge and VATSIM give you a real taste of how it works. Even if you’re just practicing offline, understanding the sequence of handoffs and what each controller does is critical.
Here’s how a typical IFR clearance and ATC progression works, step by step:
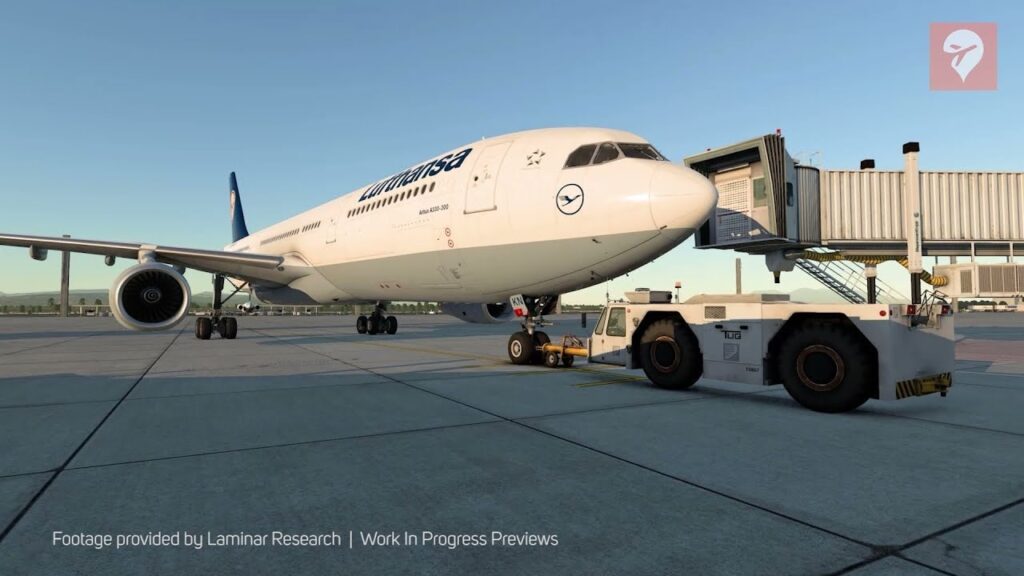
1. Clearance Delivery (Before Taxi)
Your first interaction when flying IFR is with Clearance Delivery (or Ground if Clearance isn’t separate). You’ll request your IFR clearance, including your destination.
🎧 What to say:
“Seattle Clearance, Baron 123AB, IFR to San Francisco, ready to copy.”
🎙️ What you’ll hear back:
“Baron 123AB, you are cleared to the San Francisco Airport via HAROB7 departure, climb and maintain 5000, expect FL220 ten minutes after departure, squawk 4263.”
✍️ Copy this down or have it displayed in your sim.
2. Ground Control (Taxi Clearance)
After receiving your clearance and programming your GPS/FMS, you’ll request taxi instructions.
🎧 What to say:
Seattle Ground, Baron 123AB, ready to taxi, IFR.”
📍 Follow the given taxi route to the departure runway. Ensure you’re holding short until cleared for takeoff. If your at an unfamiliar airport turn on the taxi lines option on the first page of X Plane 12 Options. You can always turn them off latter.
3. Tower (Takeoff Clearance)
At the hold short line, contact Tower.
🎧 What to say:
“Seattle Tower, Baron 123AB, holding short Runway 16L, ready for IFR departure.”
🎙️ Tower may say:
“Baron 123AB, winds 170 at 6, Runway 16L cleared for takeoff. Fly heading 180, maintain 4000.”
4. Departure / Center (Climb-Out)
Shortly after takeoff, Tower hands you to Departure.
🎧 What to say:
“Seattle Departure, Baron 123AB, leaving 2000 for 5000.”
🧭 You’ll be given vectors, or cleared on your filed route, and eventually handed to Center.
5. Enroute Phase
You’ll climb to cruise and follow your planned route. Maintain situational awareness and respond to:
- Hand-offs between sectors
- Altitude changes
- Routing amendments
🎧 Example:
“Baron 123AB, climb and maintain FL220.”
6. Approach (Arrival Phase)
Near your destination, ATC will hand you to Approach.
🎧 What to say:
“San Francisco Approach, Baron 123AB, level 6000.”
🎙️ You’ll get either vectors or direct clearance for a STAR and approach (e.g., “cleared ILS 28R approach”).
7. Tower & Ground (Landing and Taxi In)
Once established on final, Approach hands you to Tower.
🎧 Final Call:
“San Francisco Tower, Baron 123AB, established ILS 28R.”
After landing:
- Tower hands you to Ground
- Ground gives taxi clearance to parking or gate
Printable IFR ATC Phraseology Guide.
🔧 We’re preparing a downloadable PDF that outlines:
- What to say at each ATC stage
- Sample phrases and responses
- Real-world and sim-specific adjustments
📎 Link will be added here once available:
Download: IFR ATC Comms Cheat Sheet (PDF)

Part 4: Airspace, Altitude Rules & Avoiding Trouble in IFR Flying
Flying IFR in X-Plane 12 means you’re no longer just cruising under sunny skies. You’re now part of a much more complex system—navigating controlled airspace, respecting altitude rules, and avoiding restricted zones that can ruin your day (even in a sim).
Let’s break down the must-know rules and good habits for staying clear of trouble while flying IFR.
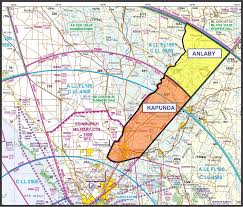
Understanding Airspace Classes (IFR Context)
Under IFR, you’re allowed in all controlled airspace, but that doesn’t mean you can ignore how it works.
| Airspace | IFR Use | Key Notes |
|---|---|---|
| Class A | Mandatory | FL180–FL600. IFR only. Must be cleared and squawking. |
| Class B | Allowed | Around major airports (e.g., LAX, JFK). ATC clearance required. |
| Class C | Allowed | Midsize airports. Two-way ATC comms needed before entry. |
| Class D | Allowed | Towered fields with less traffic. Talk to tower. |
| Class E | Allowed | Most enroute airspace. Often uncontrolled at low levels. |
| Class G | VFR only | You should avoid this as IFR—it’s uncontrolled. |
In X-Plane 12, this means you’ll often fly through Class B/C/E, and ATC (or online ATC) will handle transitions. But if flying offline, you must know what each area implies for realistic sim behavior.
IFR Altitude Rules: Pick the Right Level
Under IFR, altitude is not just about how high—it’s about direction and legality.
The Hemisphere Rule (Cruise Altitudes)
| Heading | IFR Altitudes |
|---|---|
| 000°–179° | Odd flight levels (FL190, FL210…) |
| 180°–359° | Even flight levels (FL200, FL220…) |
✅ Pick an appropriate altitude during planning. ATC may adjust it based on traffic and terrain.
Minimum Safe Altitudes: Know Your Limits
- MEA – Minimum Enroute Altitude
The lowest published altitude between nav fixes that assures navaid reception and obstacle clearance. - MOCA – Minimum Obstruction Clearance Altitude
Lower than MEA; ensures terrain clearance but may not guarantee signal reception. - MSA – Minimum Safe Altitude
General terrain safety buffer (often 1,000 ft above terrain, or 2,000 in mountainous areas).
🛑 In X-Plane 12, avoid flying below 2,000 ft AGL in unfamiliar terrain unless approaching the runway to land.
Avoiding NOTAM and TFR Violations
Even in simulation, these restrictions teach real-world discipline. Nothing says “Oops” like flying into an active TFR around Air Force One or a wildfire operation.
What Are They?
| Term | Meaning |
|---|---|
| NOTAM | Notices to Airmen: runway closures, navaid issues, airspace updates |
| TFR | Temporary Flight Restriction: VIP movement, airshows, disasters, military ops |
Where to Check Them:
- SkyVector (live map overlays)
- VATSIM or PilotEdge briefing pages
- SimBrief.com (automatically includes NOTAMs)
🧭 Good habit: Check NOTAMs/TFRs before every IFR flight even in sim. Especially important if flying online. TFR’s chan pop up at short notice and real world pilots get caught out by them. Getting intercepted by fighters is probably going to come with an expensive fine too.
Military Airspace & Prohibited Zones
🟠 Alert Areas / MOAs (Military Ops Areas)
You can technically enter them under IFR with ATC clearance—but be cautious.
🔴 Prohibited/Restricted Areas
Stay out! Think missile ranges or space launch zones. ATC may reroute you, or in sim terms—end your flight early if online!
Printable Reference Sheet.
We’re preparing a downloadable cheat sheet with:
- Airspace class summaries
- IFR altitude quick reference
- Common NOTAM/TFR types
📎 Will be added here once available:
Download: IFR Airspace & Altitude Quick Guide (PDF)
✅Summary Checklist (for IFR Airspace & Altitude)
| ✅ | Checkpoint |
|---|---|
| [ ] Plan your route around known Class B airspace, SIDs/STARs | |
| [ ] Select correct cruising altitude per direction | |
| [ ] Ensure MEA and MOCA are respected along route | |
| [ ] Check NOTAMs & TFRs for both departure and destination | |
| [ ] Avoid military zones unless ATC directs you through | |
| [ ] Practice with X-Plane 12’s moving map or EFB for terrain awareness |
Part 5: Full IFR Flight Example – KSEA to KSFO (Step-by-Step in X-Plane 12)
Now that you’ve learned how to plan, communicate, and navigate under IFR, let’s put it all into action with a realistic step-by-step IFR flight in X-Plane 12. This route from Seattle (KSEA) to San Francisco (KSFO) includes standard procedures, navigation using SID/STARs, weather management, and a full ILS approach.
This is a fantastic flight for beginners—it’s around 600 NM, crosses several ATC regions, and offers varying terrain and weather.
Flight Overview
| Departure | KSEA – Seattle/Tacoma Intl |
|---|---|
| Arrival | KSFO – San Francisco Intl |
| Route | HAROB7 HAROB J501 OLM J70 RBL BRIXX4 |
| Cruising Altitude | FL220 (Eastbound = even) |
| Expected Approach | ILS RWY 28L or 28R |
| Weather | Set to IMC: 2NM visibility, ceiling 800 ft |
| Aircraft | Baron 58, C172 G1000, or small bizjet |
🧭 If you’re using real weather, pick a day with low ceilings to simulate true IFR conditions.
Step-by-Step: Sim Setup and Flight
✅ Step 1: Pre-Flight & Flight Plan Entry
- Load into KSEA at a cold and dark ramp
- Power up and configure GPS/FMS:
- Enter full route:
HAROB7 HAROB J501 OLM J70 RBL BRIXX4 - Set departure runway: 16L
- Select expected arrival: ILS 28L at KSFO, via BRIXX4
- Enter full route:
🧑✈️ Program your route in the G1000 or FMS, including the SID and STAR if supported.
📋 Step 2: File IFR Flight Plan (Optional in X-Plane)
- In Flight Configuration, select IFR – Low Enroute Airways
- Or, enter the plan directly into your FMS and fly with ATC or VATSIM/PilotEdge
💡 If using ATC plugins, now is the time to file and request clearance.
Step 3: Request IFR Clearance (Offline or Online)
📻 Clearance delivery gives you:
- Departure procedure (HAROB7)
- Squawk code
- Initial altitude
- Departure frequency
🗨️ Example readback:
“Cleared to San Francisco via HAROB7, climb 5000, expect FL220 in 10 minutes, squawk 4263, departure on 120.4.”
Step 4: Taxi & Takeoff
- Request taxi to Runway 16L
- Complete your before-takeoff checklist
- Hold short, contact Tower, and get takeoff clearance
- After liftoff, follow the HAROB7 SID and maintain heading/climb per ATC instructions
Step 5: Enroute Phase
- Monitor your heading and altitude
- Cross-check VORs or GPS fix points: OLM, RBL, etc.
- Use autopilot to maintain FL220
- Tune into real-world ATIS for KSFO enroute, or simulate deteriorating weather for realism
✅ Practice entering HOLD at a fix (e.g., near RBL) if traffic or weather requires delay
Step 6: Descent and STAR Entry
- Descend per BRIXX4 STAR once cleared or at TOD (Top of Descent)
- Review ILS 28L approach plate
- Tune NAV1 to ILS 28L (110.75), set course to 284°
Use the G1000 or autopilot to intercept the localizer and glideslope once cleared.
Step 7: ILS Approach to KSFO RWY 28L
- Fly the STAR down to BRIXX and KLICK
- Intercept ILS and descend on the glideslope
- Minimums: ~200 ft AGL, so stay alert!
📻 Tower clears you to land, then handoff to Ground after exit.
🧑✈️ Bonus tip: If you’re low on visibility, practice a missed approach procedure and try again.
Post-Flight Debrief
After landing, taxi to your gate or parking and shut down.
Ask yourself:
- Did you fly the SID/STAR correctly?
- Did you stay ahead of the aircraft (especially during descent)?
- Were your comms and readbacks clear?
- Did you review NOTAMs and weather?
This is how you improve as a virtual IFR pilot—reflect and repeat!
Coming Soon: IFR Quick Reference Pack (PDF)
As requested, we’ll include:
- Full acronyms list
- Flight planning checklist
- ATC communication cheat sheet
- Airspace/altitude rules
- NOTAM/TFR summary
Part 6: Common IFR Mistakes in X-Plane 12 & How to Avoid Them
Flying IFR in X-Plane 12 is incredibly rewarding — but also full of traps that can frustrate beginners. Whether you’re flying offline, using built-in ATC, or flying on networks like VATSIM or PilotEdge, avoiding common mistakes makes your IFR simming feel smoother and more realistic.
Here are the top errors new IFR sim pilots make — and how you can stay ahead of them.
1. Skipping the Flight Planning Phase
🧭 The Mistake: Loading up the sim, typing in a destination, and taking off without a real route.
✅ Avoid It:
- Use SimBrief, SkyVector, or Little Navmap to plan a proper IFR route.
- Include SID, Airways, STAR and pick a legal altitude.
- Brief your route before engine start.
🖨️ Use our IFR Planning Checklist PDF for every flight.
2. Flying the Wrong Cruising Altitude
🛬 The Mistake: Flying FL190 on a westbound heading or busting through assigned altitudes.
✅ Avoid It:
- Use the Hemisphere Rule:
- Eastbound → Odd FL (e.g., FL190, FL210)
- Westbound → Even FL (e.g., FL200, FL220)
- Respect MEA and ATC instructions.
✍️ Pro Tip: Write your planned altitude next to your route on your kneeboard or PDF.
❌ 3. Misusing the Autopilot
🧑✈️ The Mistake: Engaging autopilot before trimming or not using it at all for IFR workload relief.
✅ Avoid It:
- Hand fly the initial departure, then engage AP once stable.
- Use HDG, NAV, VS, and ALT modes appropriately.
- Learn your aircraft’s AP logic (G1000 vs FMS vs 737/MCDU).
❌ 4. Not Understanding STARs or SIDs
📉 The Mistake: Ignoring assigned procedures, leading to off-course or terrain busts.
✅ Avoid It:
- Load the SID and STAR into your GPS/FMS.
- Use charts to confirm fixes and altitude restrictions.
- Watch the altitude profile on descent — don’t divebomb the runway!
❌ 5. Losing Situational Awareness in IMC
🌫️ The Mistake: Getting disoriented in clouds or low visibility and descending dangerously.
✅ Avoid It:
- Trust your instruments. Cross-check airspeed, altitude, and heading constantly.
- Set up a backup nav plan: VOR tuning or GPS fix monitoring.
- Use the moving map or X-Plane 12 EFB if needed (especially in terrain).
❌ 6. Ignoring NOTAMs & TFRs
🚫 The Mistake: Flying into restricted airspace or assuming every airport is open.
✅ Avoid It:
- Use SkyVector, SimBrief, or online briefing tools to check NOTAMs.
- Avoid MOAs, TFRs, and restricted zones unless cleared.
✈️ Even in sim — flying into a VIP TFR on PilotEdge could get you booted or redirected.
❌ 7. Missing Radio Calls or Phraseology
🎙️ The Mistake: Saying “uhhh” or not knowing what to say when ATC talks.
✅ Avoid It:
- Use our IFR ATC Comms PDF and practice common calls.
- Always include: Callsign + Altitude + Intentions or Location.
- Learn to read back clearances confidently.
✅ Summary: IFR Best Practices
| 🚀 Do | ❌ Don’t |
|---|---|
| Plan with charts & tools | Skip flight prep |
| Fly published procedures | Ignore SIDs/STARs |
| Respect altitude rules | Climb randomly |
| Communicate clearly | Use vague calls |
| Use autopilot wisely | Rely on GPS blindly |
| Monitor terrain & weather | Tunnel vision on instruments |
| Check NOTAMs & airspace | Fly into danger zones |
IFR Flying in X-Plane 12 Complete IFR Quick Reference Pack
You’ll soon be able to download our combined:
- Acronym cheat sheet
- Planning checklist
- ATC phrase guide
- Airspace & altitude summary
- Common mistakes & how to fix them
📥 PDF Available for download link Now.
What’s Next?
This wraps up your core IFR training journey in X-Plane 12!
If you’d like, I can help you build:
- An IFR Training Mission Series
- Voice-guided checklists (like your Baron 58 work!)
- A printable IFR Logbook for your sim flights
- A combined eBook version of this guide for your site

Author
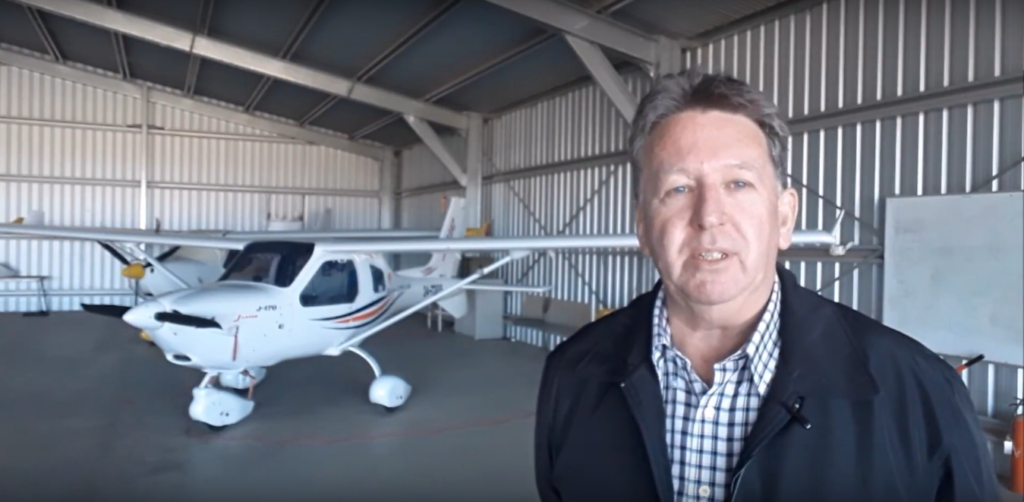
Brendon McAliece (Aka Gunnie) is a military veteran with 23 years working on Jet Fighters, their weapons systems and ejection seat/module systems as well as munitions and R&D. Involved with flight simulation since the 1980s, he has flown all the major flight simulators over the years.
He is an Australian expat who has lived in Malaysia, UK, Saudi Arabia and more recently Thailand. He is a multi-lingual blogger who loves to share his life experiences here on LetsFlyVFR.com and DreamingGuitar.com, with his lifestyle and Travel experiences Blog plus his Dreaming Coffee website.
Learn More @
DreamingGuitar.com – DreamingCoffee.com – LetsFlyVFR.com
( HOME – BLOG – SHOP – ABOUT )
This page has been viewed 0 times.
As an Amazon affiliate I may benefit from qualifying sales.
