
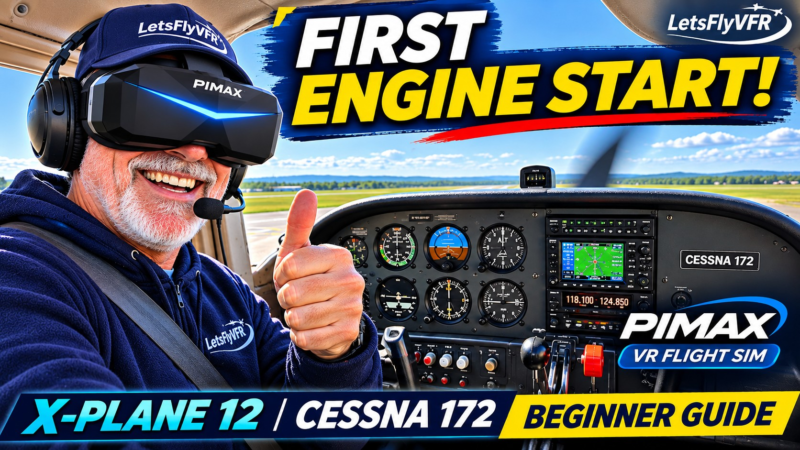
A Beginner’s Step-by-Step Guide.
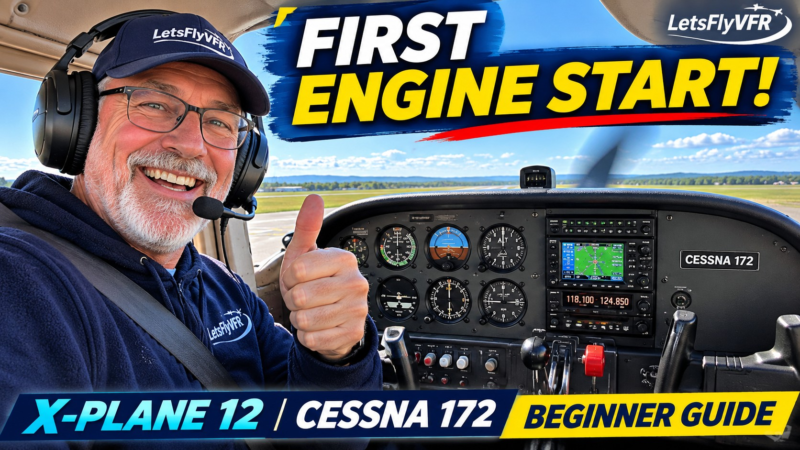
Learn how to start, prepare and bring the Cessna 172 to life in X-Plane 12. A simple, beginner-friendly tutorial for aspiring virtual pilots.
Welcome to LetsFlyVFR!
If you’re new to flight simulation, one of the first things you’ll need to learn is how to start an aircraft correctly.
The Cessna 172 Skyhawk is one of the most popular training aircraft in the world, and it’s an excellent aircraft for learning the fundamentals of flying in X-Plane 12.
But before you can taxi, take off and explore the skies, you need to get that engine running!
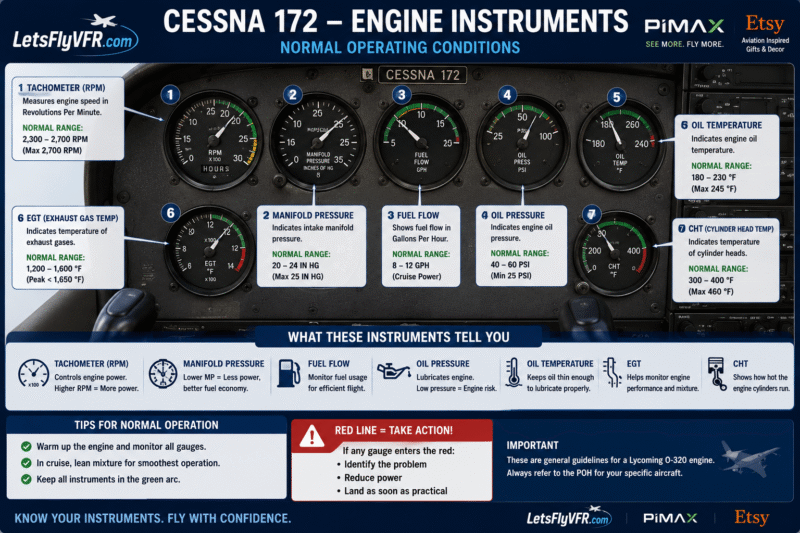
In this tutorial, we’ll walk through the basic Cessna 172 engine start-up procedure, explain what each control does, and help you understand the sequence of events that takes you from a cold cockpit to a running aircraft.
We’ll take things slowly and assume you’re starting with little or no previous experience.
So, let’s get started!
1. Getting Familiar with the Cessna 172 Cockpit
Before starting the engine, it’s worth spending a few minutes getting familiar with the cockpit. The Cessna 172 has a relatively straightforward cockpit layout, making it an ideal aircraft for beginners. Depending on the version you’re flying, you may have traditional analogue instruments (the familiar six-pack) or a modern Garmin G1000 glass cockpit.

For this tutorial, we’ll concentrate on the standard Cessna 172SP-style start-up procedure. The exact procedure can differ between aircraft variants, so always check the appropriate aircraft Pilot’s Operating Handbook (POH).

The important controls you’ll need to locate are:
- Master Switch: Supplies electrical power to the aircraft.
- Ignition Switch: Controls the magnetos and starter motor.
- Throttle: Controls engine power.
- Mixture Control: Controls the fuel-to-air mixture supplied to the engine.
- Fuel Selector: Determines which fuel tank supplies the engine.
- Auxiliary Fuel Pump: Provides fuel pressure during the starting procedure.
- Parking Brake: Keeps the aircraft stationary while the engine is running.
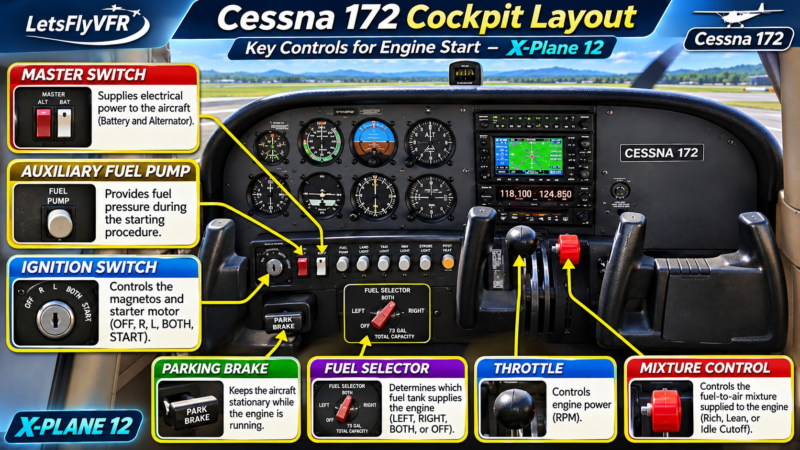
Take a moment to locate each of these controls before proceeding.
2. Before Starting the Engine – Cockpit Preparation
Before attempting to start the engine, we need to make sure the aircraft is properly prepared.
Think of this as your pre-start routine.
Follow the sequence below:
| Control / Item | Action |
|---|---|
| Passenger briefing | Complete |
| Seats and seat belts | Adjust and secure |
| Parking brake | SET |
| Circuit breakers | Check IN |
| Electrical equipment | OFF |
| Avionics | OFF |
| Fuel selector | BOTH |
| Fuel shutoff valve | ON |
Why do we do this?
We want to make sure the aircraft is configured correctly, the occupants are secure, and unnecessary electrical equipment is switched off before starting.
A good pilot develops good habits from the very beginning.



3. Starting the Cessna 172 Engine.
Now comes the interesting part!
We’re going to start the engine using the standard fuel-injected Cessna 172SP-style procedure.
Step 1 – Throttle
Set the throttle approximately 1/4 inch open.
This allows a small amount of air into the engine when starting.
Step 2 – Mixture
Place the mixture control in IDLE CUTOFF.
This prevents fuel from entering the engine during the initial preparation.
Step 3 – Propeller Area
Make sure the propeller area is clear.
In a real aircraft, this is an essential safety check. Never assume the area is clear.
Step 4 – Master Switch
Switch the MASTER ON.
You should now see the aircraft’s electrical instruments and systems receiving power.
Step 5 – Beacon
Switch the flashing BEACON ON.
This provides a visual warning that the aircraft’s engine is about to be started or is running.
Step 6 – Auxiliary Fuel Pump
Switch the AUXILIARY FUEL PUMP ON.
Step 7 – Mixture – Priming
Move the mixture control to FULL RICH until fuel flow stabilises, approximately 3–5 seconds under the applicable POH procedure.
Then return the mixture control to IDLE CUTOFF.
This prepares the fuel system for starting.
Step 8 – Auxiliary Fuel Pump
Switch the auxiliary fuel pump OFF.
Step 9 – Ignition
Turn the ignition key to START.
The starter motor should begin turning the engine.
As soon as the engine starts, release the key. It should return to BOTH.
Step 10 – Mixture
Move the mixture control smoothly to FULL RICH.
The engine should now be running!
Congratulations! You’ve just started your Cessna 172.
Important: This is a fuel-injected C172S-style starting sequence. Carburetted C172 models, hot starts, flooded starts and other aircraft variants have different procedures. Follow the specific aircraft POH and checklist.
4. After Starting the Engine
Starting the engine is only the beginning.
Before doing anything else, we need to check that the engine is operating normally.
Pay particular attention to the following:
| Item | What to Check |
|---|---|
| Oil pressure | Check for a prompt indication |
| Engine RPM | Check for stable operation |
| Electrical system | Check charging indications |
| Engine instruments | Check for normal indications |
| Avionics | Switch ON as required |
| Radios | Set as required |
| Flaps | Check and configure for departure |
A very important point about oil pressure:
Oil pressure should rise promptly after starting. If it does not, shut down the engine in accordance with the POH. Do not continue operating the engine without satisfactory oil pressure.
5. What Should You Do If the Engine Doesn’t Start?
Don’t panic!
Even experienced pilots occasionally encounter starting difficulties.
In X-Plane 12, there are several possible reasons why your Cessna 172 might not start.
Here are some things to check:
The engine doesn’t turn over:
- Is the MASTER switched ON?
- Is the battery charged?
- Are you using the correct ignition switch position?
- Is the aircraft’s electrical system functioning?
The engine turns but doesn’t start:
- Is the mixture control in the correct position?
- Have you followed the correct priming procedure?
- Is the fuel selector correctly positioned?
- Is there sufficient fuel?
The engine starts and then stops:
- Check the mixture setting.
- Check the fuel supply.
- Check the fuel shutoff valve.
- Review the aircraft’s starting procedure.
Remember, different C172 models have different starting requirements. Don’t keep cranking the engine repeatedly. Follow the POH starting and flooded-engine procedures, including starter cooling limits.
6. Ready to Taxi?
Once the engine is running and the instruments are showing normal indications, you’re ready to move on to the next stage of your flight preparation.
But don’t rush!
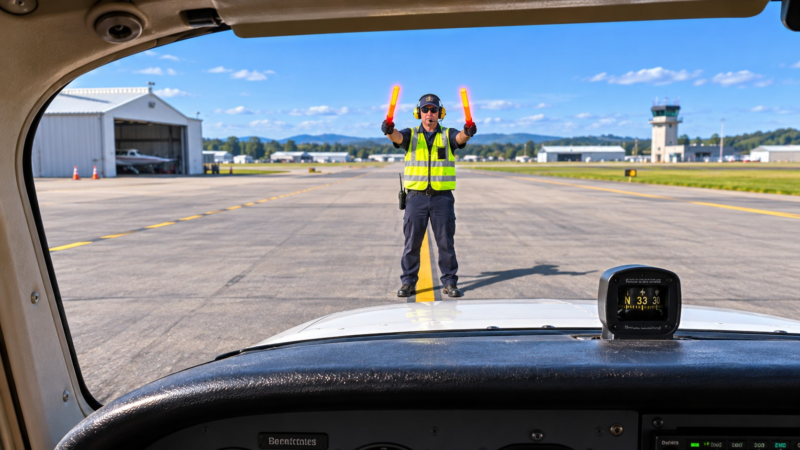
Before taxiing, you’ll need to complete the appropriate after-start and before-taxi checks.
These include checking your flight instruments, setting your radios, checking your flight controls, and ensuring that the aircraft is configured correctly.
We’ll cover these procedures in another LetsFlyVFR tutorial.
7. Your Cessna 172 Start-Up Checklist
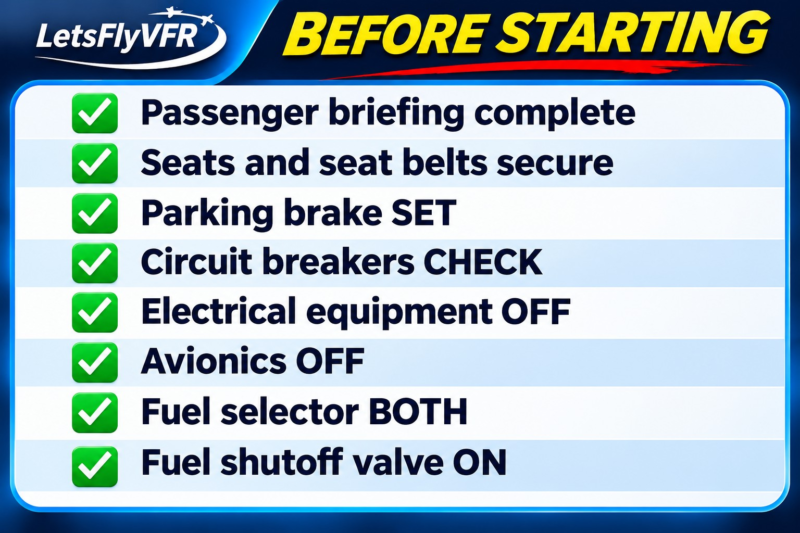
Here’s a quick reference to the main starting sequence.
BEFORE STARTING
- Passenger briefing complete
- Seats and seat belts secure
- Parking brake SET
- Circuit breakers CHECK
- Electrical equipment OFF
- Avionics OFF
- Fuel selector BOTH
- Fuel shutoff valve ON
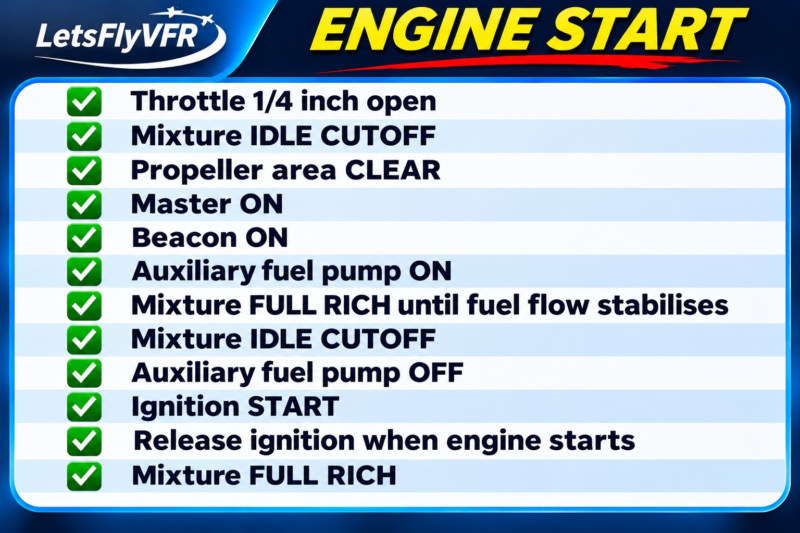
ENGINE START
- Throttle 1/4 inch open
- Mixture IDLE CUTOFF
- Propeller area CLEAR
- Master ON
- Beacon ON
- Auxiliary fuel pump ON
- Mixture FULL RICH until fuel flow stabilises
- Mixture IDLE CUTOFF
- Auxiliary fuel pump OFF
- Ignition START
- Release ignition when engine starts
- Mixture FULL RICH
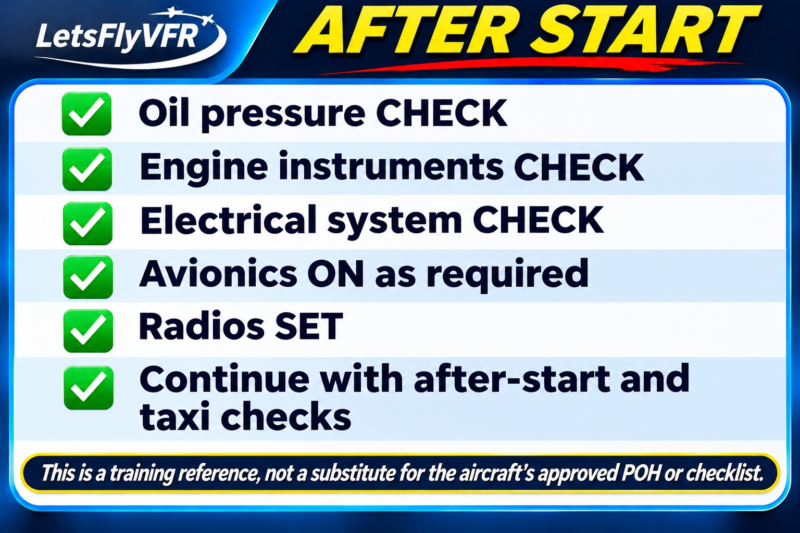
AFTER START
- Oil pressure CHECK
- Engine instruments CHECK
- Electrical system CHECK
- Avionics ON as required
- Radios SET
- Continue with after-start and taxi checks
This is a training reference, not a substitute for the aircraft’s approved POH or checklist.
Final Thoughts
Learning to start an aircraft properly is one of the first steps towards becoming a confident virtual pilot.
The Cessna 172 is a fantastic aircraft for learning, and X-Plane 12 provides an excellent environment to practise the procedures and develop good cockpit habits.
Take your time, learn what each control does, and don’t simply memorise a sequence of switches.
Understanding WHY you’re doing something is just as important as knowing WHAT to do.
And remember, aviation is all about preparation, procedure and patience.
Happy flying, and I’ll see you in the skies!
BUILD THE PERFECT COCKPIT… THEN DRESS THE PART.
Discover Premium Flight Simulator Apparel, Wall Art, Pilot Gifts and Aviation Accessories at LetsFlyVFR – ETSY STORE.






More Flight Simulation Tutorials!
Visit LetsFlyVFR.com for more flight simulation information, tutorials, tips and guides.
Subscribe to our YouTube channel, LetsFlyVFR, for more X-Plane 12 tutorials and flying adventures.
DISCLAIMER
This article is intended for flight simulation and general educational purposes only. It is not an approved flight training document and must not be used as a substitute for actual flight instruction, an aircraft checklist or the applicable Pilot’s Operating Handbook (POH). Procedures vary between Cessna 172 models and configurations. Always consult the correct aircraft documentation.
LetsFlyVFR – Learn, Explore and Enjoy the World of Flight Simulation!
Author
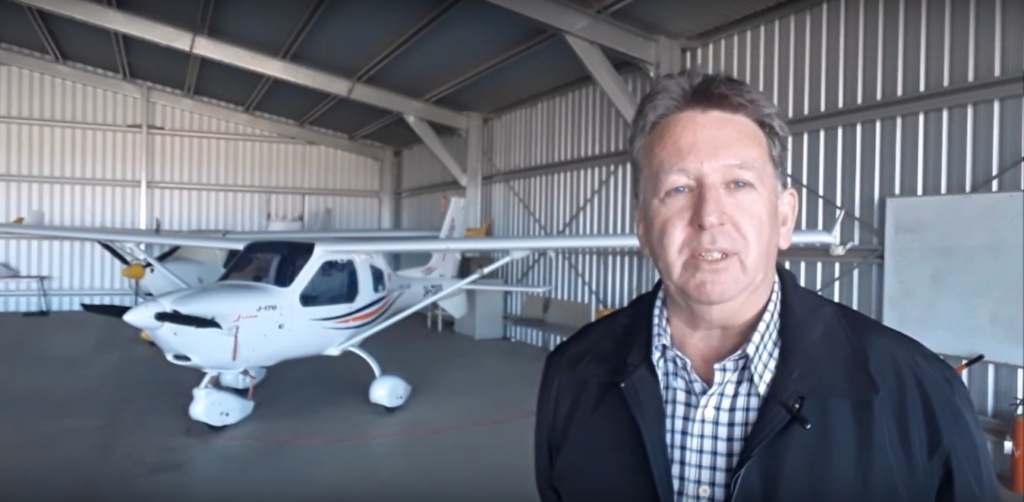
Brendon McAliece (Aka Gunnie) is a military veteran with 23 years working on Jet Fighters, their weapons systems and ejection seat/module systems as well as munitions and R&D. Involved with flight simulation since the 1980s, he has flown all the major flight simulators over the years.
He is an Australian expat who has lived in Malaysia, UK, Saudi Arabia and more recently Thailand. He is a multi-lingual blogger who loves to share his life experiences here on LetsFlyVFR.com and DreamingGuitar.com, with his lifestyle and Travel experiences Blog plus his Dreaming Coffee website.
Learn More @
DreamingGuitar.com – DreamingCoffee.com
LetsFlyVFR ETSY Store – Discover PIMAX VR Now!

Leave a Reply