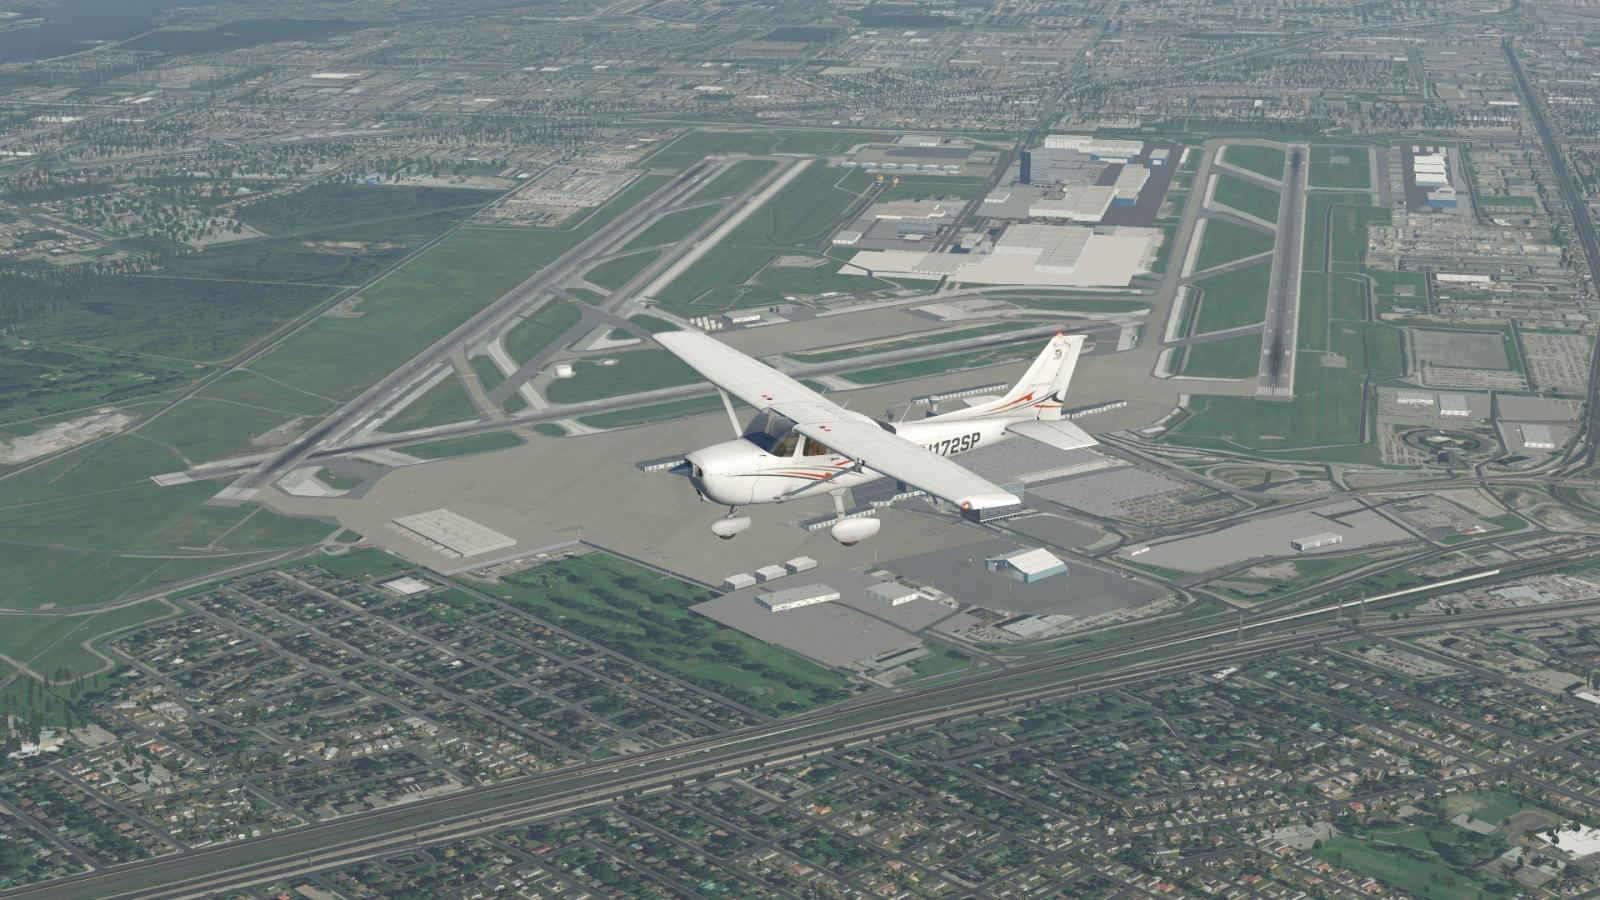
AutoOrtho and Ortho4XP: Elevating X-Plane 12 Scenery to New Heights.
AutoOrtho and Ortho4XP are incredible options to enhance your X Plane 12 graphics and take it to the next level. Flight simulation enthusiasts understand that a major factor in immersion is realistic scenery. AutoOrtho and Ortho4XP are two powerful tools that allow you to add photorealistic scenery to X-Plane 12, seamlessly blending real-world imagery with the simulator’s 3D-generated objects. Let’s dive into what these tools are, how they enhance your experience, their differences, and how to install and configure them.

What is Ortho4XP?
Ortho4XP is a freeware tool that lets you generate high-quality photo-based scenery by downloading satellite imagery and integrating it into X-Plane. It provides customizable options to enhance visual realism, particularly near airports or specific regions where accuracy is key.
Key Features of Ortho4XP:
- Customizable Quality: Allows you to adjust the resolution of satellite imagery (e.g., Zoom Level 17 for high detail near airports or Zoom Level 14 for less-detailed areas when flying at high altitudes).
- Integration with X-Plane’s 3D Scenery: Generated orthophotos are overlaid under 3D objects like buildings, trees, and runways, preserving the simulator’s realistic depth.
- Water Masking: Supports blending realistic water textures for lakes, rivers, and coastlines.
- Batch Processing: Generate scenery for vast regions or focus on specific areas of interest.

- Joystick / HOTAS – AMAZON.com
- Rudder Pedals – AMAZON.com
- Throttle Quadrant – AMAZON.com
- Gaming Chair – AMAZON.com
- VR Headset – AMAZON.com
What is AutoOrtho?
AutoOrtho is a more streamlined approach that dynamically streams orthophoto scenery into X-Plane as you fly. This eliminates the need to pre-download and store large amounts of data locally.
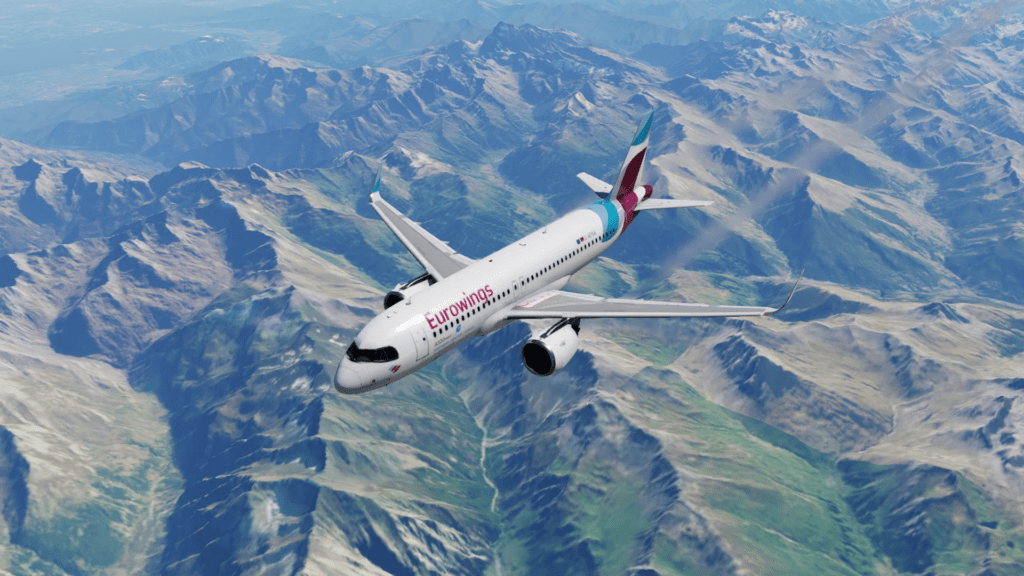
Key Features of AutoOrtho:
- Dynamic Streaming: Downloads scenery in real-time as needed, reducing disk space requirements.
- Simplicity: Requires minimal setup compared to manually generating tiles with Ortho4XP.
- Consistency: Automatically integrates with your scenery load order, making it a plug-and-play solution.
Enhancements to X-Plane 12 with Ortho Scenery
Both Ortho4XP and AutoOrtho provide significant upgrades to X-Plane 12’s default scenery, including:
- Improved Realism: Fly over highly accurate terrain that mirrors real-world landscapes.
- Enhanced Immersion: Visual cues from realistic ground textures improve navigation and enjoyment.
- Customization: Adjust texture quality to balance performance with detail, especially in critical areas like airports.
- Cost Efficiency: Freeware tools deliver payware-level scenery quality without breaking the bank.
Which One is Right for You?
| Feature | Ortho4XP | AutoOrtho |
|---|---|---|
| Quality | Allows fine-grain control over resolution and quality | Limited by streaming data sources |
| Disk Space Requirements | High: Tiles can consume hundreds of gigabytes | Low: Real-time streaming reduces local storage need |
| Flexibility | Highly customizable for advanced users | Beginner-friendly, plug-and-play setup |
| Performance Impact | Variable depending on resolution | Slightly higher due to real-time streaming |
| Best Use Case | Static high-quality scenery for specific regions | Dynamic scenery for global flying |
Ortho4XP delivers higher quality scenery when configured at maximum zoom levels, especially for areas around airports. AutoOrtho, while simpler, is ideal for users who don’t want to manage large files or worry about manual setup.
Installation and Setup
Installing Ortho4XP:
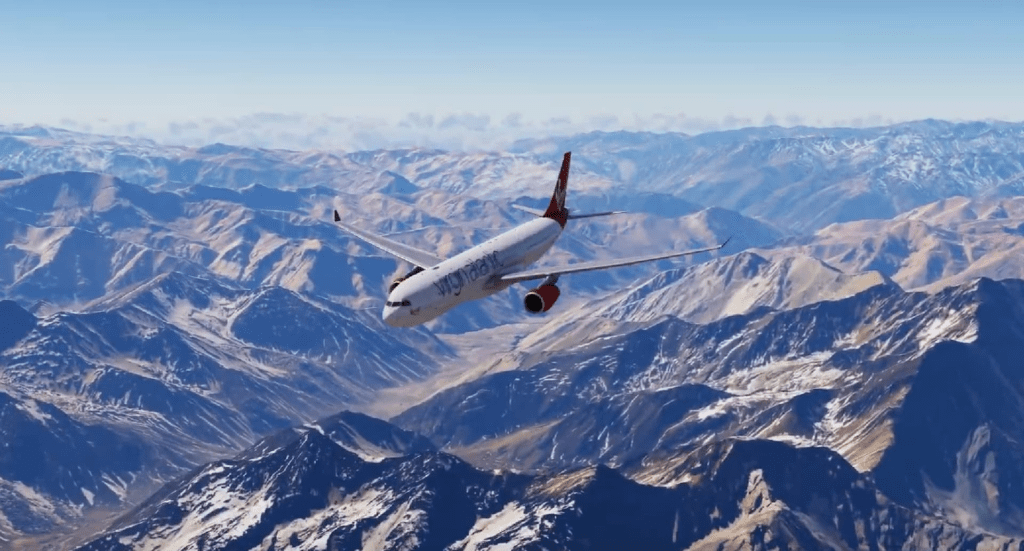
- Download Ortho4XP:
- Visit the official GitHub page or X-Plane forums to download the latest version.
- Extract the tool to your desired location.
- Set Up Configurations:
- Define tile quality (Zoom Levels) and water masking in the tool’s GUI.
- Download and install Python if required for script execution.
- Generate Scenery Tiles:
- Use the interface to select tiles on the map.
- Let the tool download satellite imagery and build the scenery.
- Add to Scenery.ini:
- Generated tiles are saved in the
Custom Sceneryfolder. - Add the folder names to the scenery_packs.ini file located in the same directory, ensuring proper load order.
- Generated tiles are saved in the
Installing AutoOrtho:

- Download AutoOrtho:
- Get the installer from the official AutoOrtho repository or community forums.
- Install and Configure:
- Follow the guided installation process.
- Select the regions you want streamed.
- Run the Application:
- Start AutoOrtho before launching X-Plane to enable streaming.
- Scenery.ini Integration:
- AutoOrtho automatically configures itself in the scenery load order.
The Scenery.ini File: Your Scenery Load Manager
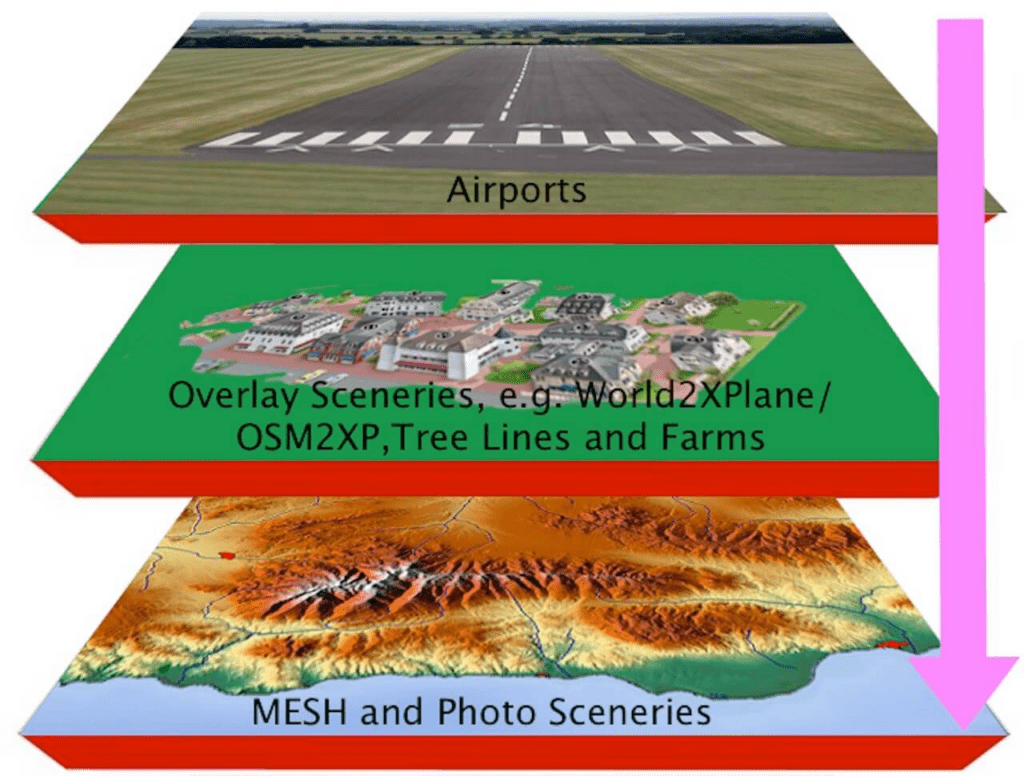
The scenery_packs.ini file is located in the Custom Scenery folder of your X-Plane installation. This file dictates the order in which scenery is loaded.
Best Practices for Scenery.ini:
- Ortho Scenery Placement:
- Place Ortho4XP-generated folders above default scenery but below airport packages.
- Example:
SCENERY_PACK Custom Scenery/Airport_X/ SCENERY_PACK Custom Scenery/zOrtho4XP_Tile/ SCENERY_PACK Custom Scenery/Global Scenery/
- AutoOrtho Integration:
- AutoOrtho automatically adjusts itself, requiring minimal intervention.
Optimizing Scenery for Performance

- Use Mixed Zoom Levels:
- Higher resolution (Zoom Level 17 or 18) near airports for detailed approaches.
- Lower resolution (Zoom Level 15) for less detail-intensive areas at cruising altitude.
- Monitor Performance:
- Check X-Plane’s frame rate to ensure the scenery isn’t overloading your CPU/GPU.
- Leverage X-Plane’s Scenery Library:
- Add freeware airports or additional landmarks to complement orthophoto scenery.
You can download Ortho4XP and AutoOrtho from the following sources:
- **Ortho4XP:**
- **AutoOrtho:**
These resources provide the necessary files and guidance to enhance your X-Plane 12 experience with high-quality photorealistic scenery.
- Latest CPU’s Available Now – Amazon.com
- Get a NEW GPU Best Performance – AMAZON.com
- Upgrade RAM Here today – AMAZON.com
- Prebuilt PC Options – AMAZON.com
Conclusion
AutoOrtho and Ortho4XP are transformative tools for elevating your X-Plane 12 experience. Ortho4XP provides unparalleled control and quality for scenery enthusiasts, while AutoOrtho offers ease of use and flexibility. Both options enhance immersion by adding photorealistic textures under X-Plane’s 3D objects, creating a stunningly realistic flight environment.
Experiment with both tools, refine your scenery_packs.ini, and discover the beauty of flying over a virtual world that mirrors reality. The skies await!

Author
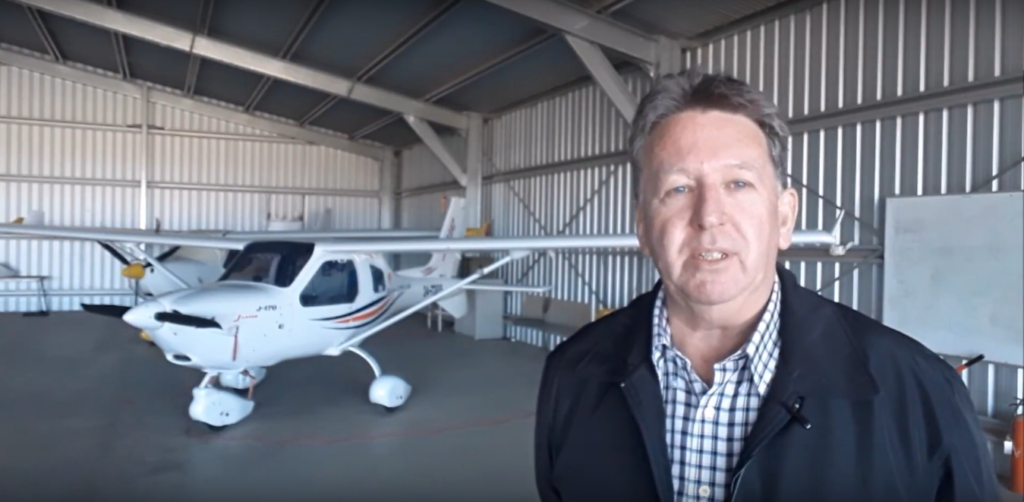
Brendon McAliece (Aka Gunnie) is a military veteran with 23 years working on Jet Fighters, their weapons systems and ejection seat/module systems as well as munitions and R&D. Involved with flight simulation since the 1980s, he has flown all the major flight simulators over the years.
He is an Australian expat who has lived in Malaysia, UK, Saudi Arabia and more recently Thailand. He is a multi-lingual blogger who loves to share his life experiences here on LetsFlyVFR.com and DreamingGuitar.com, with his lifestyle and Travel experiences Blog plus his Dreaming Coffee website.
Learn More @ DreamingGuitar.com – DreamingCoffee.com – LetsFlyVFR.com
( HOME – BLOG – SHOP – ABOUT )
This page has been viewed 0 times.
As an Amazon affiliate I may benefit from qualifying sales.

