How to Boost FPS for FREE Make your Sim Smooth as Silk!
BIOS BOOST SETTINGS – The Basics of Smooth FPS.
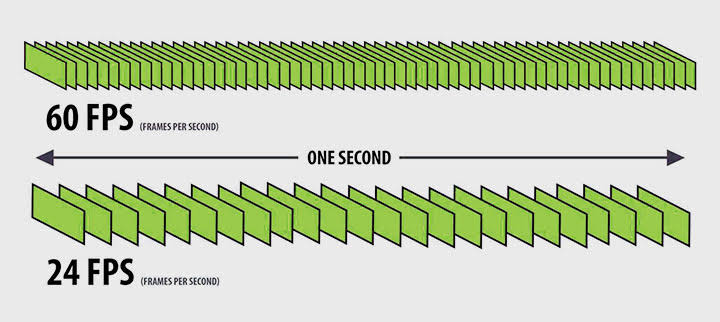
We all want to know how to boost Fps in our games. To do so it’s about getting your basics right at the start of the build. Once you have the foundation for a good PC fps will follow. The PC can be made smoother by ensuring you follow the tips in this guide.
What Gives a Better Gaming Experience?
The obvious answer you may say is lots of fps but it’s not always the case. A great experience comes when the FPS delivery is stutter free because of long frame generation times and poor optimization.
The building blocks of this how to boost Fps guide will help you, in your X PLANE, MSFS and DCS World. Start by entering the deep depths of your BIOS to get started. Here we need to make some basic changes that will improve your performance quickly.
- Increase CPU Fan for better cooling.
- Turn on Precision Boost for better performance.
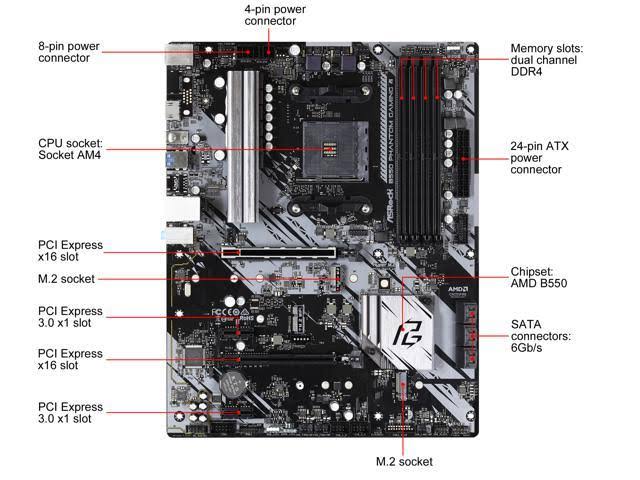
- Check Ram installation for DUEL Channel Operation.
- Check Ram Speed is correctly set.
BIOS is King.
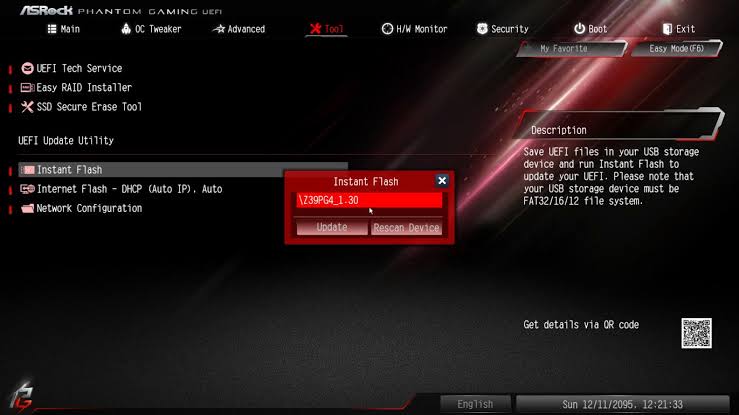
The BIOS is not a scary place and easy to access and modify. If you get it wrong somehow you can easily reset to defaults. The bios is where your computer is born with all the performance and features based here. You can control CPU and GPU performance as well as RAM and overclocking options as well as a lot more.
In modern computers we have two performance enhancers and preventers to deal with. Added power causes heat especially when its not required so reducing heat will be a great boost for FPS for sure. Getting these factors under control is the first step. Not enough power reduces performance as does to much heat. To much power causes extra heat also limiting your peak performance. Restart your PC and hit either DEL or normally F2 repeatedly to gain access to the bios.
CPU Fan SPEED Turn it Up!
When the screen opens we want to go to the hardware monitor. This will show fans and fan speeds. I would recommend scrolling down till you find the CPU fan control.
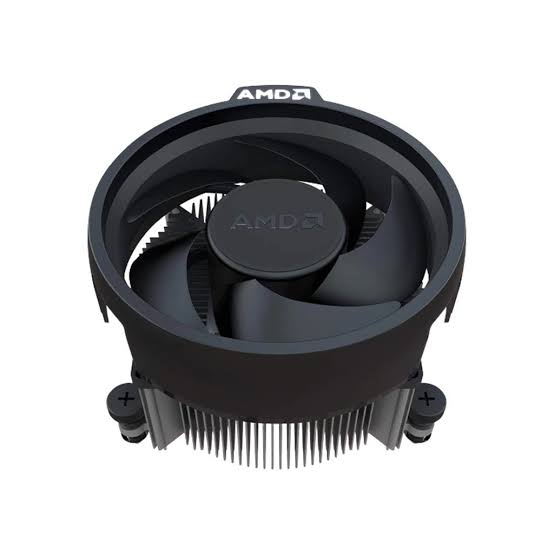
I recommend you move it from its quiet setting (default setting) to performance or high performance if the fan is not to loud for you. This will increase the fan speed ensuring your CPU remains cool. If your CPU remains cool it will keep its highest performance and boost clock speed for longer GIVING you more FPS.
This applies to stock CPU settings and not just overclocked CPUs. It will be able to stay at its peak boost speed for longer if it’s kept cool. If your CPU is struggling it cannot produce the information the GPU needs and drags the whole system performance down.
CPU Performance – Precision Boost It!
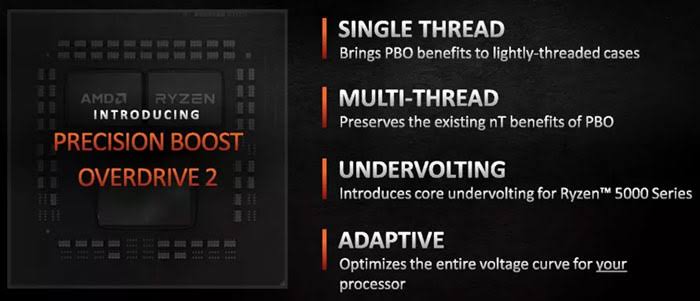
The CPU is the heart and soul of out PC. If it underperformed our expensive GPU or graphics card cannot perform. In AMD there is a Precision Boost option so we want the CPU to maintain its highest performance. In the Performance Tweaker or equivalent you can find the CPU settings. If you don’t have a good water block cooler or aftermarket fan overclock is probably worth leaving alone.
There is however a precision boost option that will push your CPUs performance to its Max SAFE performance. This is governed by both power and temperature. This setting will try and hold your CPU at its highest performance for as long as possible. Your higher fan speed selection is designed to support this setting.
- Latest CPU’s Available Now – Amazon.com
- Get a NEW GPU Best Performance – AMAZON.com
- Upgrade RAM Here today – AMAZON.com
- Prebuilt PC Options – AMAZON.com
RAM Up Your Performance!
RAM or memory plays a great part in your CPU and GPU s performance. It stores and allows transfer of information much faster than SSD or hard drives between them.
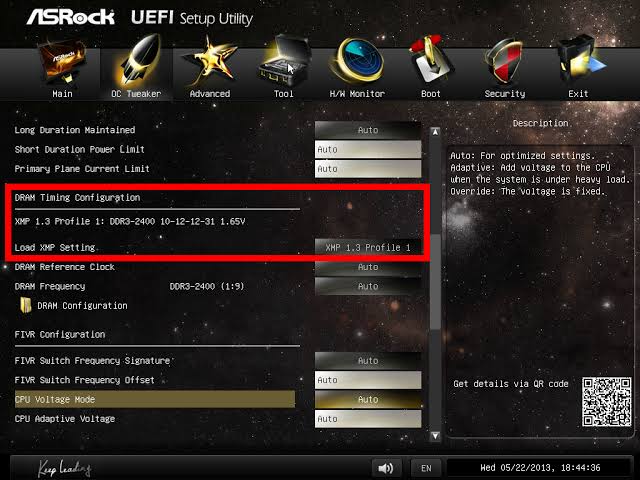
Having more RAM is good with 16Gb a good level with 32 Gb also popular. Please note more RAM on its own won’t speed up your PC. What’s important is how you install it as well as setting it’s correct speed.
Select the Tweaker and scroll down to your RAM settings. The RAM will install and run at 2133 MHz even though your ram could be 3200 MHz or more. To change this and get your rams full performance select the XMP profile that should be already to go. Simply select it for your ram to work at its absolute best performance. It’s a simple select or enable XMP profile and selecting it.
Single Channel Vs Dual Channel.
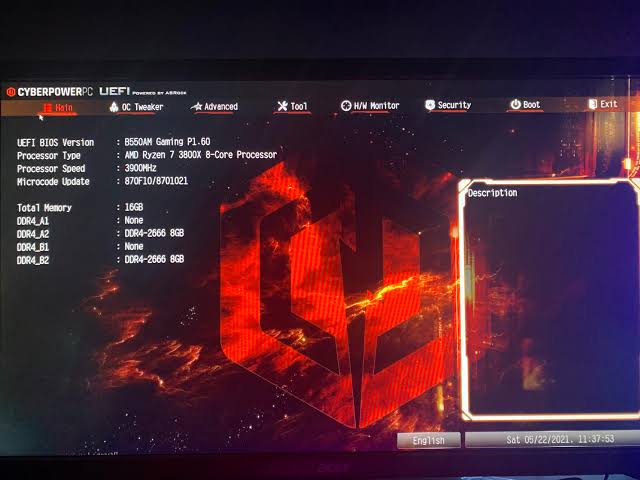
Ram slots on motherboards are normally in pairs or groups of four. It’s important to put, the RAM modules in the right, order for best performance. Check your menu in the bios and see what slots are full. If you see A1 plus B1 with ram installed your in DUEL channel and getting the best performance. The same goes for A2 and B2. There will normally be a slot free between installed ram sticks if you only have 2 sticks.
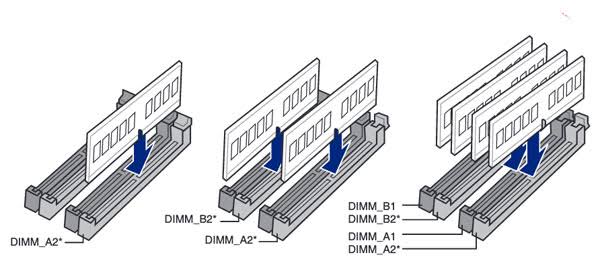
I you see A1 & A2 with installed ram then your in single channel mode and the sticks will, be next to each other. You are not getting the full benefit of duel channel ram. The performance is certainly visible but it’s certainly not twice the performance. Check the graphic above.
I noticed much smoother frame delivery in X Plane 12 in testing this ram setting. So I recommend taking the time to get this right. If your pc has been built for you it’s likely already there but it’s worth checking all of the above settings. Just for additional information there are triple and quad channels available for ram but it depends on the CPU. My Ryzen 5600X only, supports dual channel. Some Intel and possibly higher end AMD may also support quad channels.
Save And Exit the BIOS.
Now its time to head into windows and spice things up there too. Hit exit, save settings and wait. It will restart itself and reload the new BIOS settings and in doing so you should hear the CPU fan ramp up.
SPICE UP THE GPU
MODERN GPUs are very powerful and leave a lot of power in the tank if you, wish to find it. It can be substantial and it’s honestly not dangerous for your GPU. I have just been overclocking my GPU which is a RTX 3070. Using a program like MSI Afterburner which is super popular and safe along, with Heaven Benchmark, from Unigine you can squeeze every last ounce of performance safely from the graphics card.
So how to, boost performance starts by downloading these two free programs.
- MSI AFTERBURNER
- HEAVEN BENCHMARK
You can use the links above or search for them on your favorite browser. Once downloaded install them and you will be ready.
MSI Afterburner.
The interface for MSI afterburner is below. The top section shows you your GPU’s clock speed, memory, speed, temperature and voltage usage.
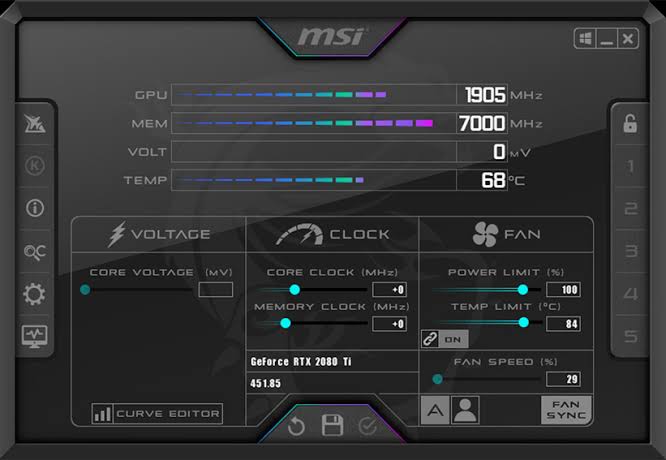
Looking to the lower left there is a voltage slider. We will not be touching this voltage slider. More heat comes from to much voltage. Again the GPU won’t let you add more power than is safe to handle so please don’t worry.
In the middle are the core clock slider and memory clock sliders. These are what we will adjust to find out maximum performance settings. They should be zero to start. To the right there are two more sliders. We will push the power and temperature sliders up to Max now.
Again this is not dangerous at all! It’s just telling the GPU how far it can go if it needs, it. It still controls these two parameters and keeps them safe. We are giving the GPU permission to go there if it wants, not forcing it beyond its safe limit. Note the A for Auto on the fan control. Make sure the A is ticked and it will automatically look after the required fan cooling. You can make custom fan curves but for now just use Auto.
Finally below and centre there is an OK tick to approve changes. There is also a disk to save changes. When we save the numbers on the right, will flash and clicking one of them saves it to that position. Note finally there is a Windows icon up, the top where if ticked we can have the settings automatically start with Windows. Once we are confident we can choose this if you like.
HEAVEN Benchmark.
The Heaven benchmark is an industry, standard and very useful. It is a camera travelling around a very intense graphical old city. It stresses the GPU enough that, when we are getting close to the GPUs limit of performance you will start seeing small star bursts in the screen.
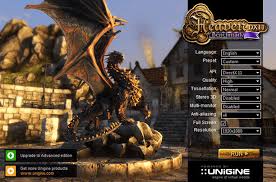
This is when to back the GPU settings a little because we are at its limit. If the program crashes or the PC crashes it will restart and opening MSI you can back the last parameter you moved back by an amount to have a safe overclock.
How to Boost FPS in a Few Minutes.
OK, let’s get finding those FPS! Start Heaven and allow it to, run in windowed mode if you, like on your monitor.
Core Clock Tuning.
- Now also open MSI Afterburner and move the two power and temp sliders to Max. Save the setting, by, clicking, on the tick.
- Now type in figures or drag the slider on the Core Clock to the right. Move about 25 then click the tick.
- Watch the Heaven screen for a minute then if OK, add another 25 to, go to 50. Click tick and watch.
- No, issue then go to 75 and continue to watch and adjust upward.
Most Cards honestly can start at 100 on the Core clock and go up from there. Most GPUs will have problems from, 120 to 180 or 200. Take your time and go up, in increments of 20. If heaven stops then your at, the limit of your core clock.,
My own card has a clock speed of 1750 MHz but current overclock up to 2200 MHz at the moment. It’s stable and I flew X Plane 12 for quite a while in VR and had no, issues.
Memory Clock Tuning.
The process is the same as above really.
- Slide the memory, slider up 100 or click, in the box and type 100. Click the tick to approve and continue to watch Heaven for any issues.
- Add another 100 for a total of 200 and again click the tick to apply the new number. Watch heaven for a minute.
- Continue to add another hundred and save until you see some artificing in the screen.
Most new 30 series cards you can probably, go straight to 800. My own card went to 1000 and I left it there while I test for stability. One you have a setting, that’s working, fine in Heaven it’s time to go game. It’s possible that your stable overclock in Heaven could be a little to much for some games.
If your game crashes or you see stars appearing then just back the Memory back by, 100, save and try the game again. If it crashes or has Artifacting drop your core clock down by say 50.
If you, play your game and all, is well you, can up, the core clock by 10 and retry till you find the limit again. Note and save at the last good, figure. Its probably, a good time to save it in the numbers so hit, the disk icon and then a flashing number. It’s now saved and when your comfortable you can always hit the windows icon and it will load automatically with windows.
Note if it crashes with, Windows at any, time it will reload with a zero in the clock and memory sliders box.
PERFORMANCE GAINS.
I have just done all, of the things listed above to get the most performance from my own system.
My system:
- AMD 5600X
- Nvidia RTX 3070
- Corsair 32Gb DDR4 3200MHZ
- Samsung SSD
- Joystick / HOTAS – AMAZON.com
- Rudder Pedals – AMAZON.com
- Throttle Quadrant – AMAZON.com
- Gaming Chair – AMAZON.com
- VR Headset – AMAZON.com
Performance Gains.
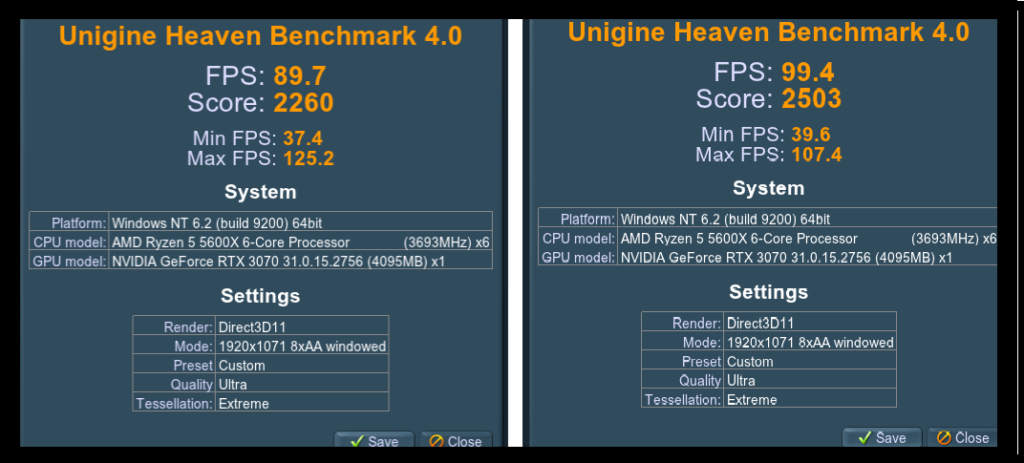
No guide is complete without proof! We’ll at least I think so although many fps guides come with no such evidence. With the BIOS preparation and No, overclock my, system scored :

With, Bios prepared and over locked to Core Clock +180 & Memory clock, to, +1000 my, PC scored:
Author
Brendon McAliece (Aka Gunnie) is a military veteran with 23 years working on Jet Fighters, their weapons systems and ejection seat/module systems as well as munitions and R&D. Involved with flight simulation since the 1980s, he has flown all the major flight simulators over the years.
He is an Australian expat who has lived in Malaysia, UK, Saudi Arabia and more recently Thailand. He is a multi-lingual blogger who loves to share his life experiences here on LetsFlyVFR.com and DreamingGuitar.com, with his lifestyle and Travel experiences Blog plus his Dreaming Coffee website.
Learn More @ DreamingGuitar.com – DreamingCoffee.com – LetsFlyVFR.com
( HOME – BLOG – SHOP – ABOUT )
As an Amazon affiliate I may benefit from qualifying sales.


